The rebel 122nd Celentine Highlanders have set up a command base on the fringe world of Celentine IX, deserted in the aftermath of exterminatus. The Skyrunner Privateers, a pirate force of tau performing mercenary work and raids in the system are hired by callous imperial commanders to seek out and destroy the rebels, in the hopes of scattering their forces.
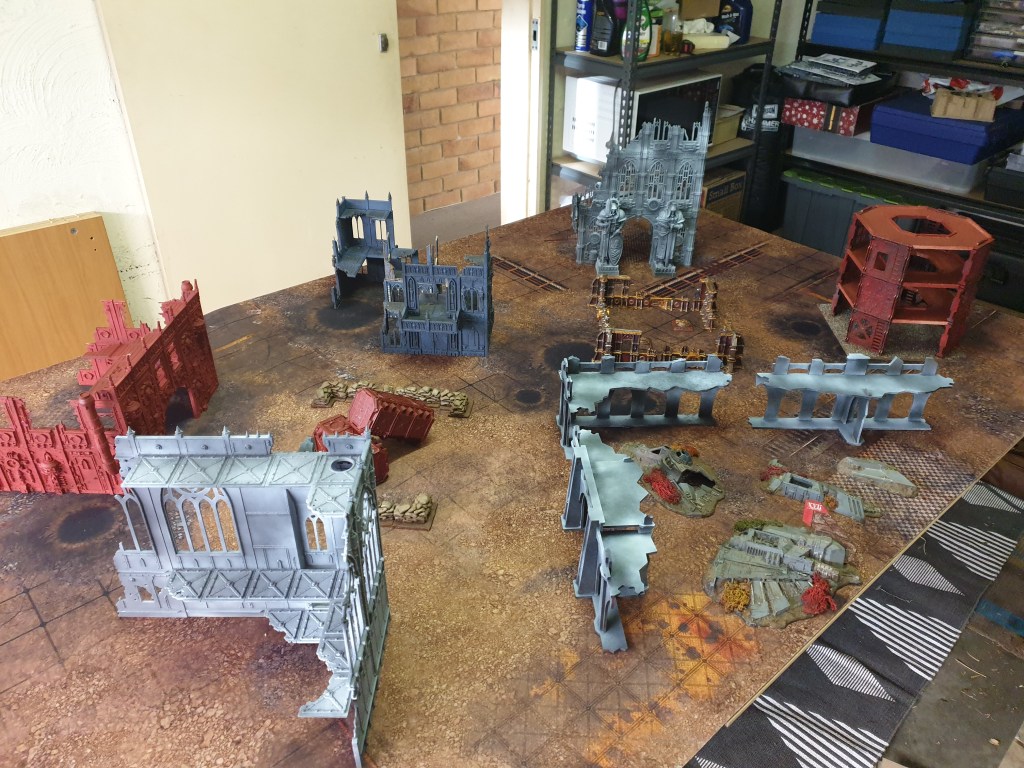
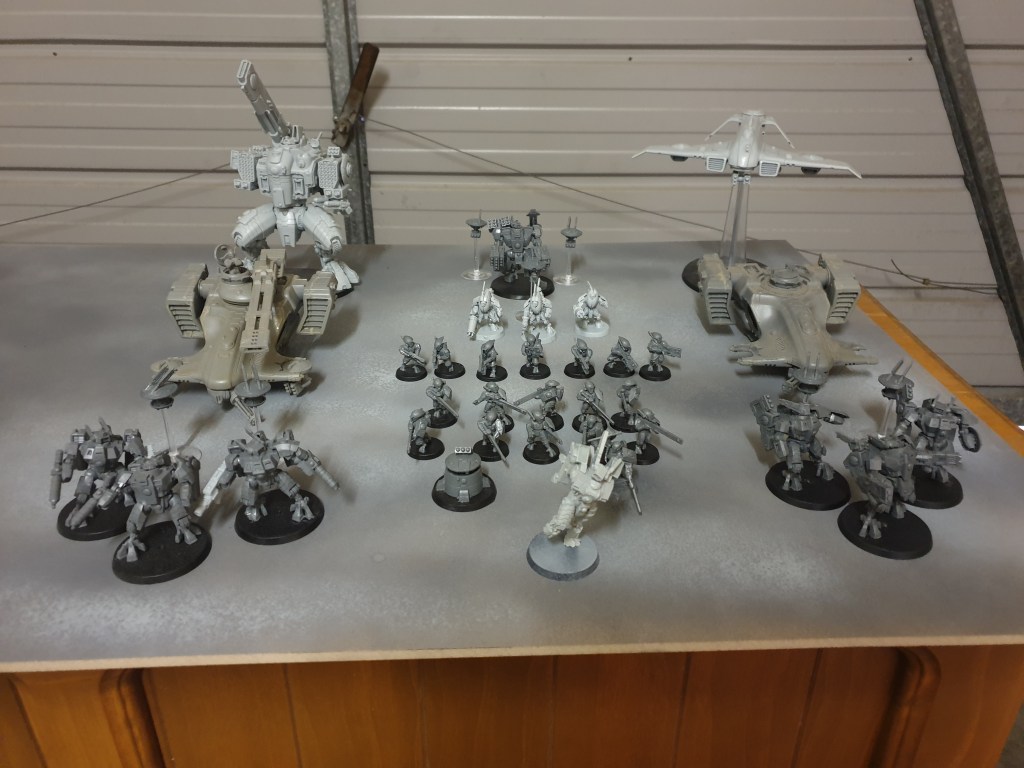
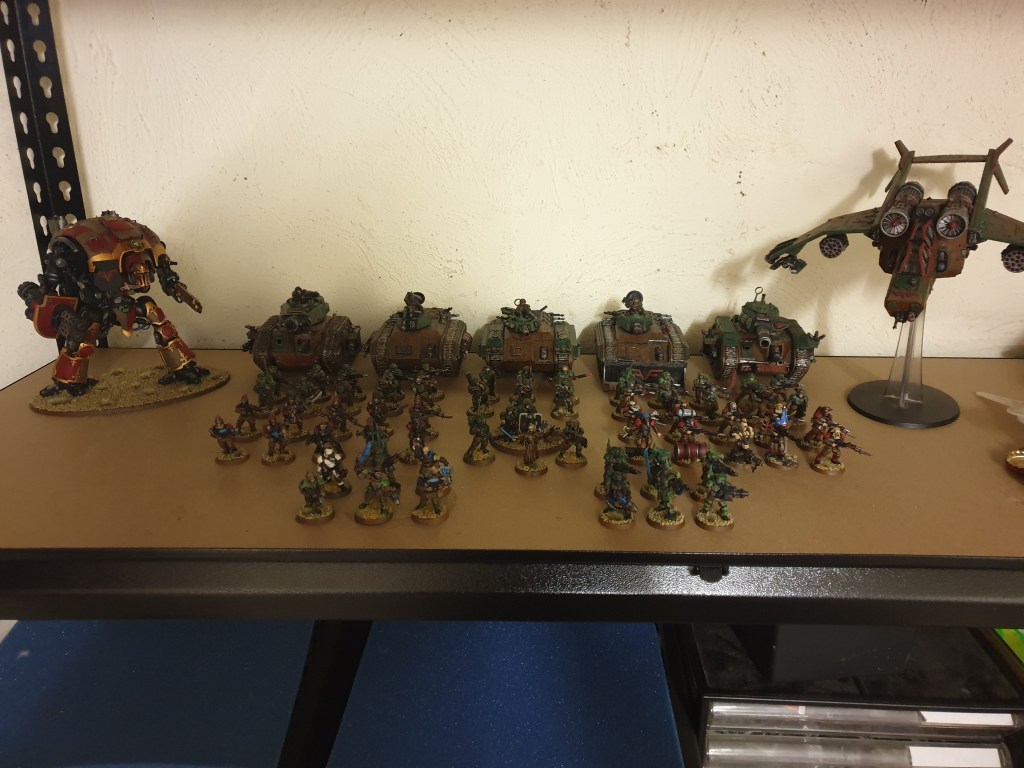
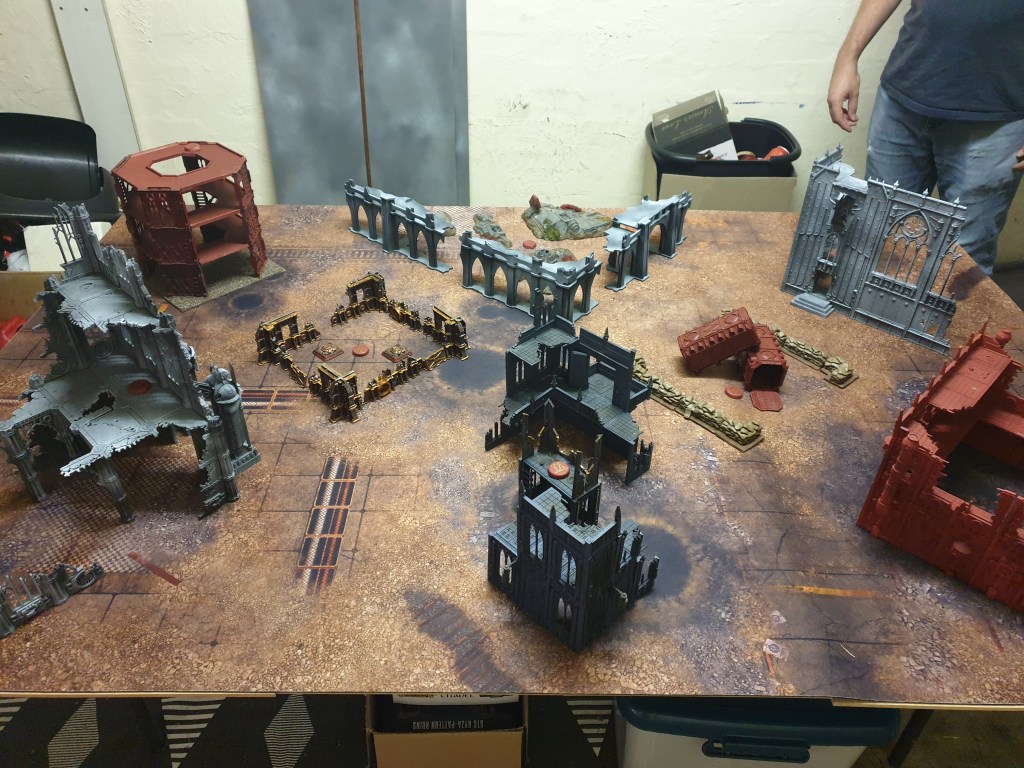
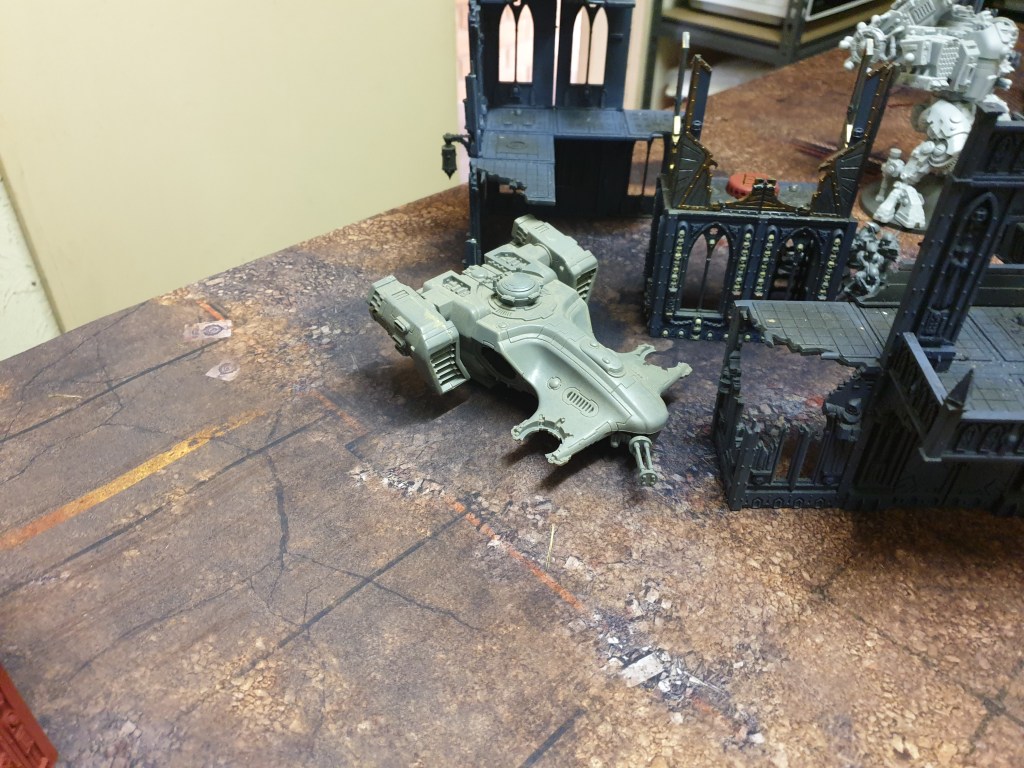
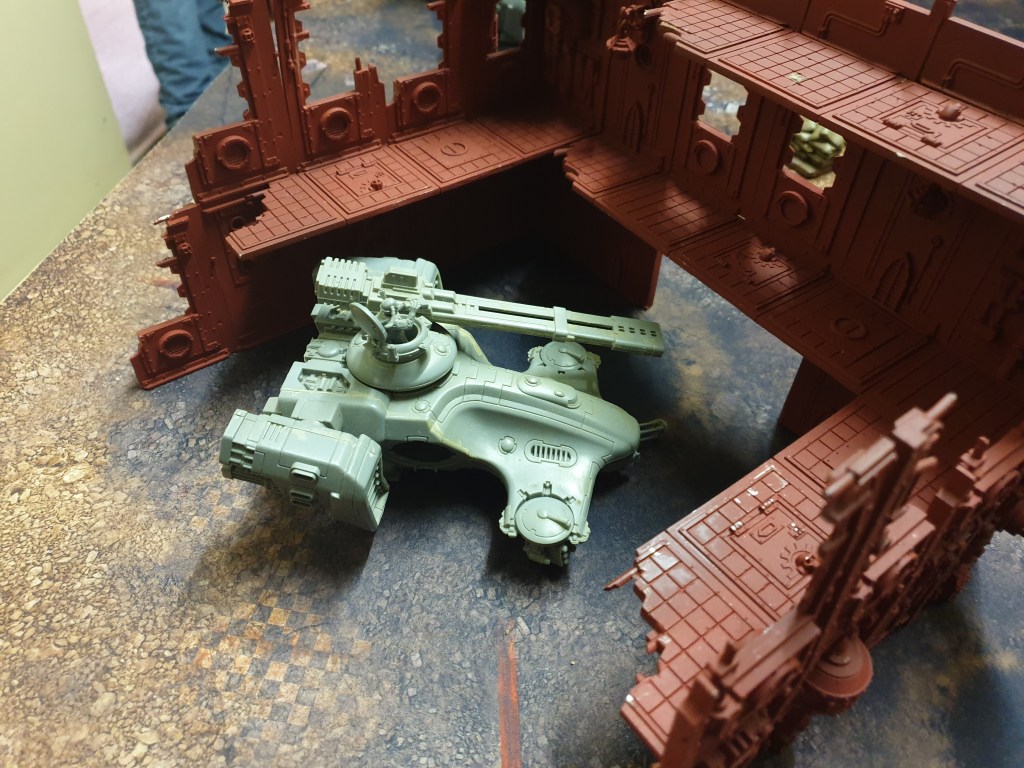
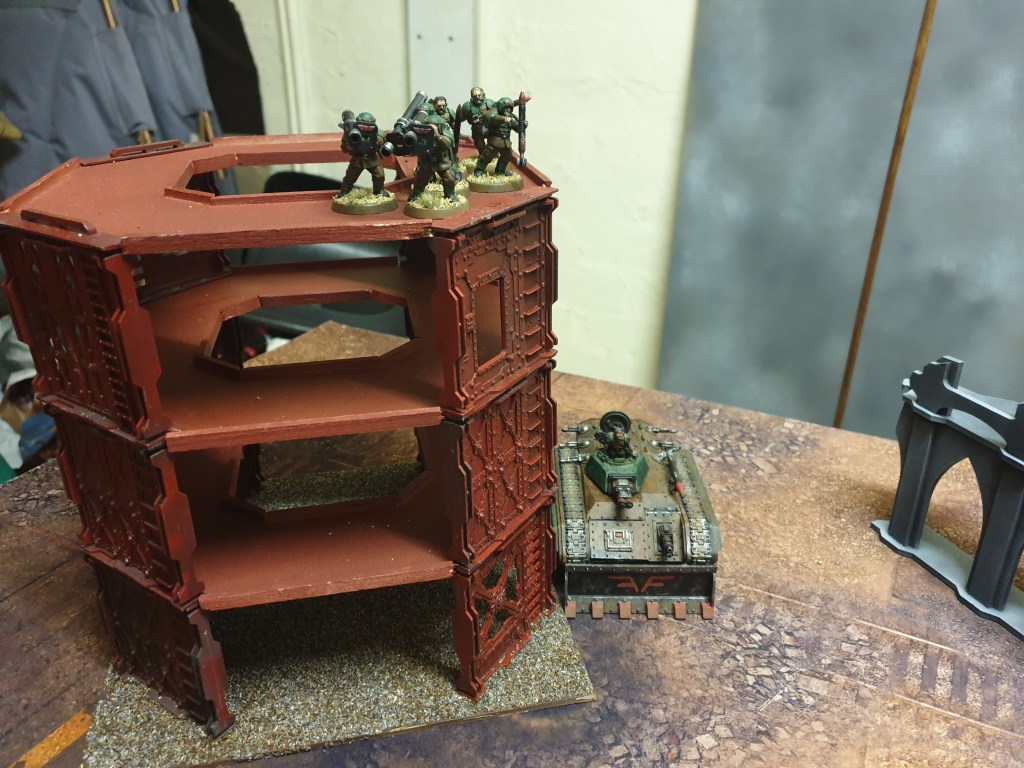
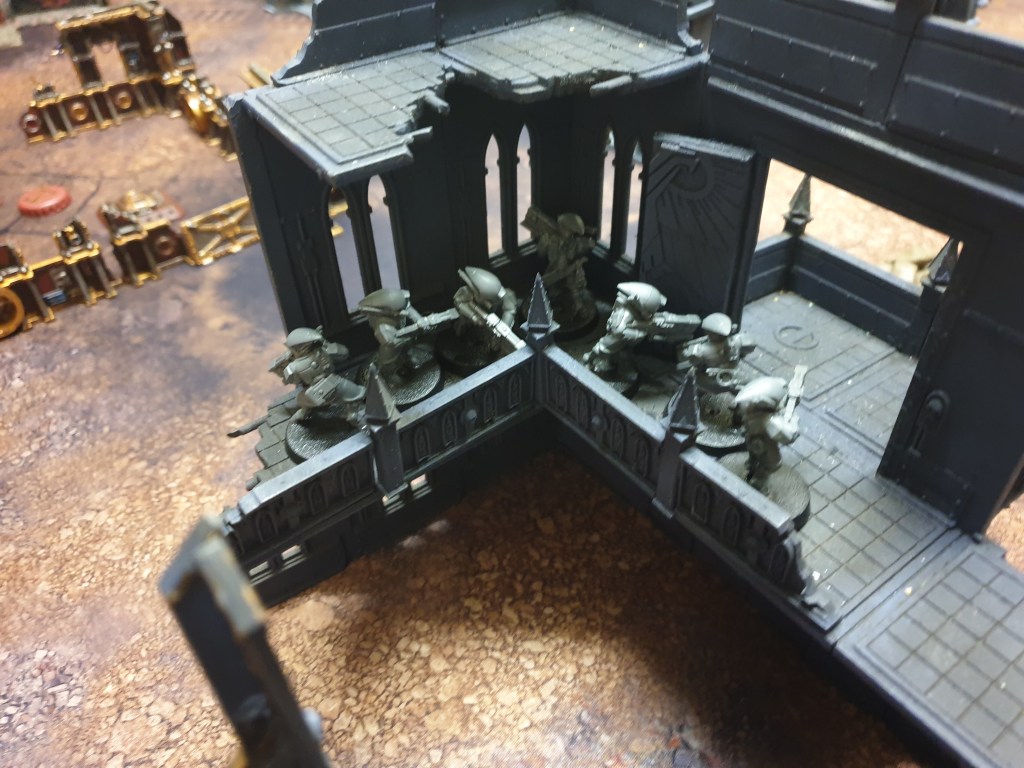
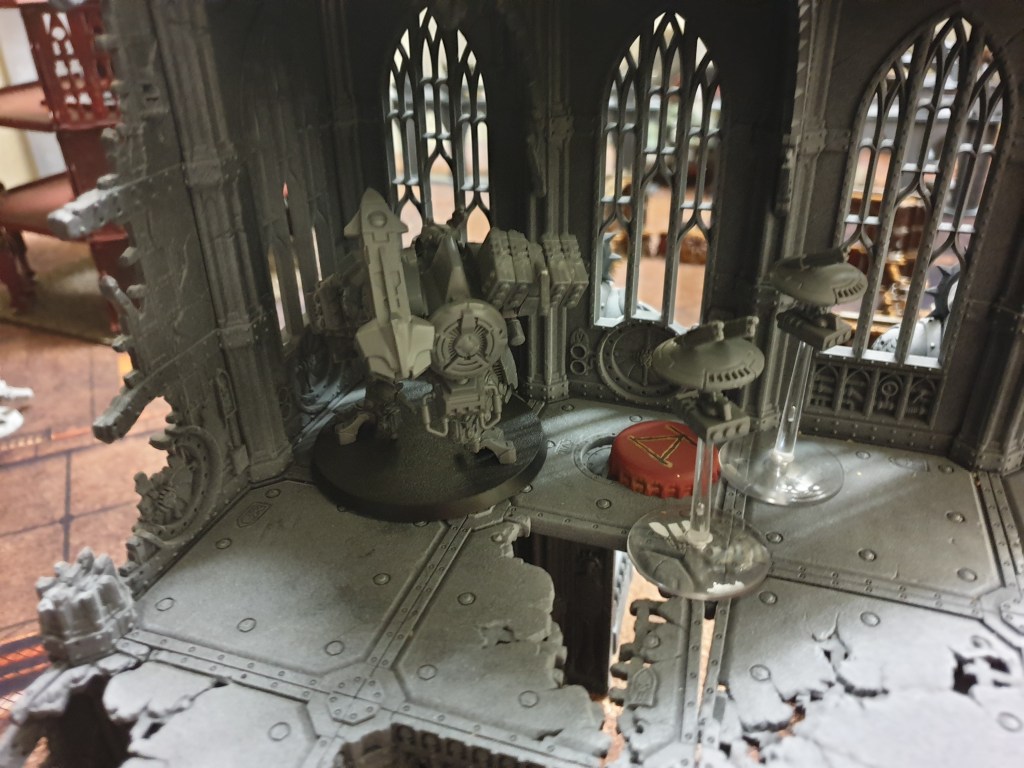
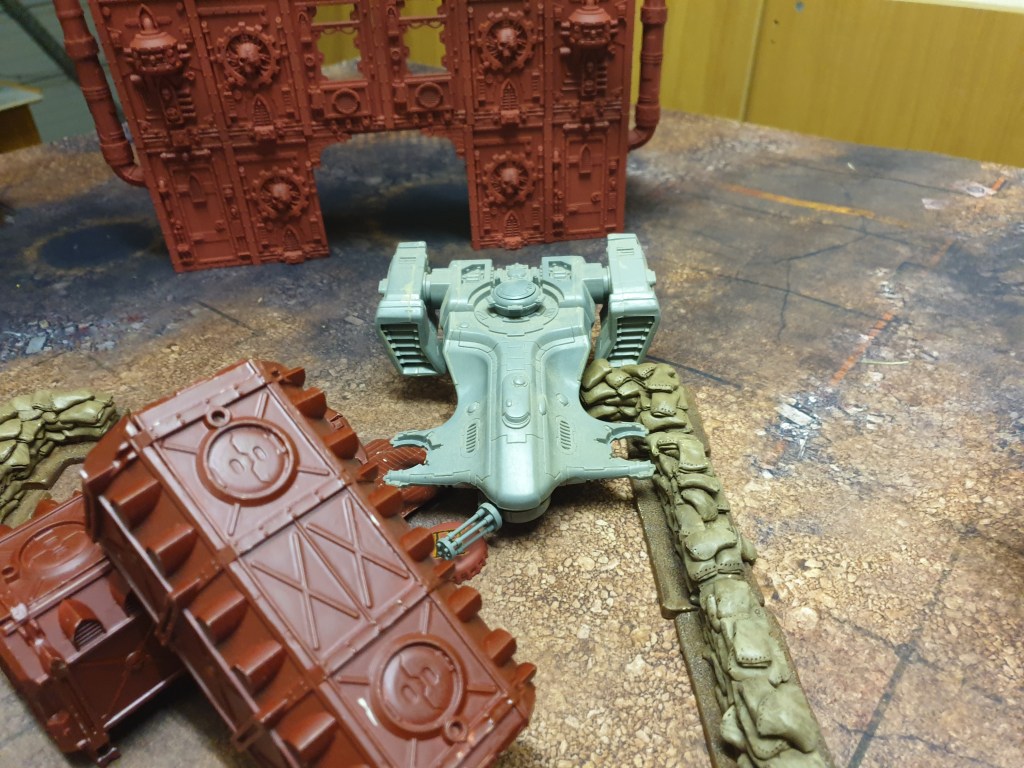
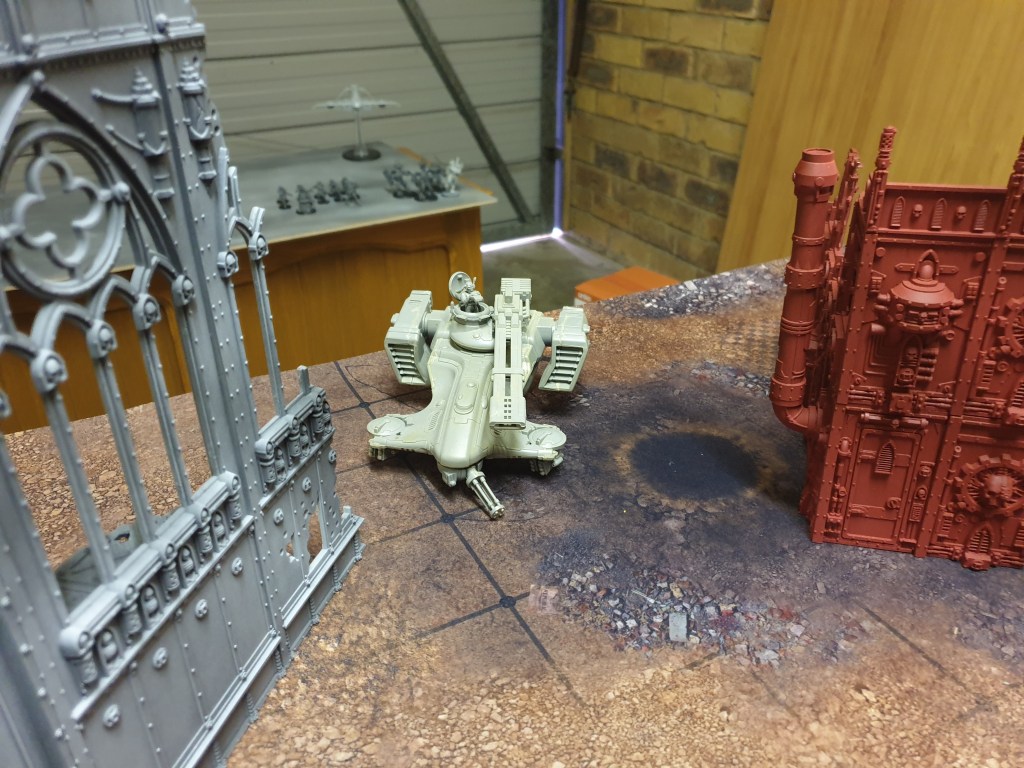
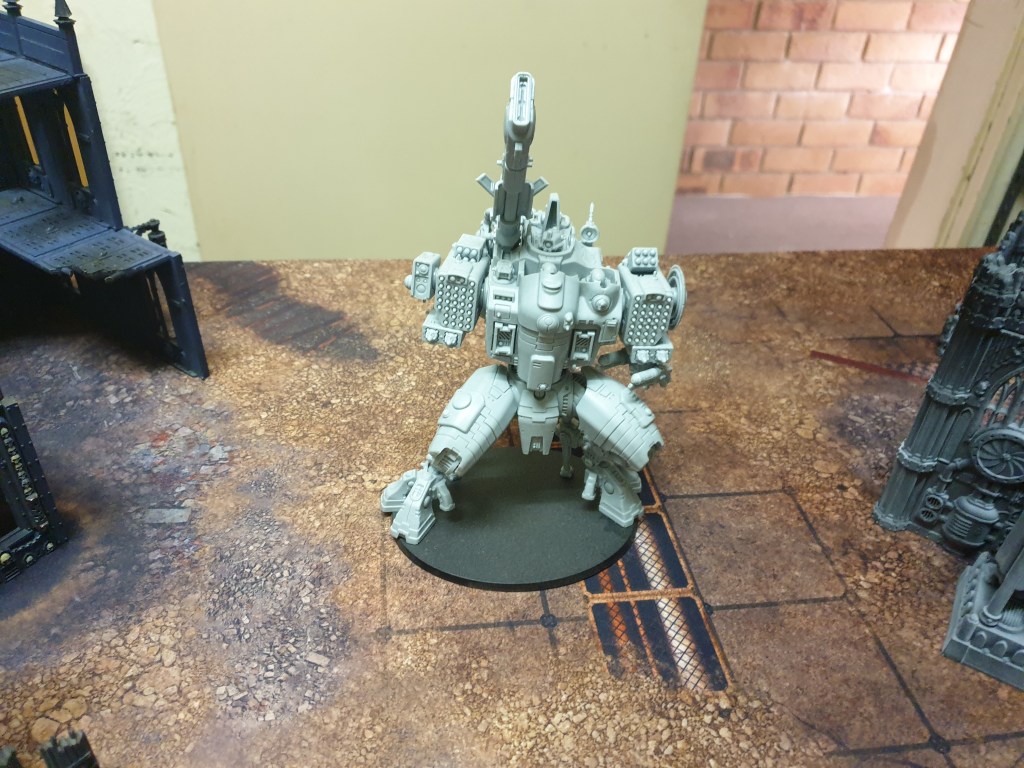
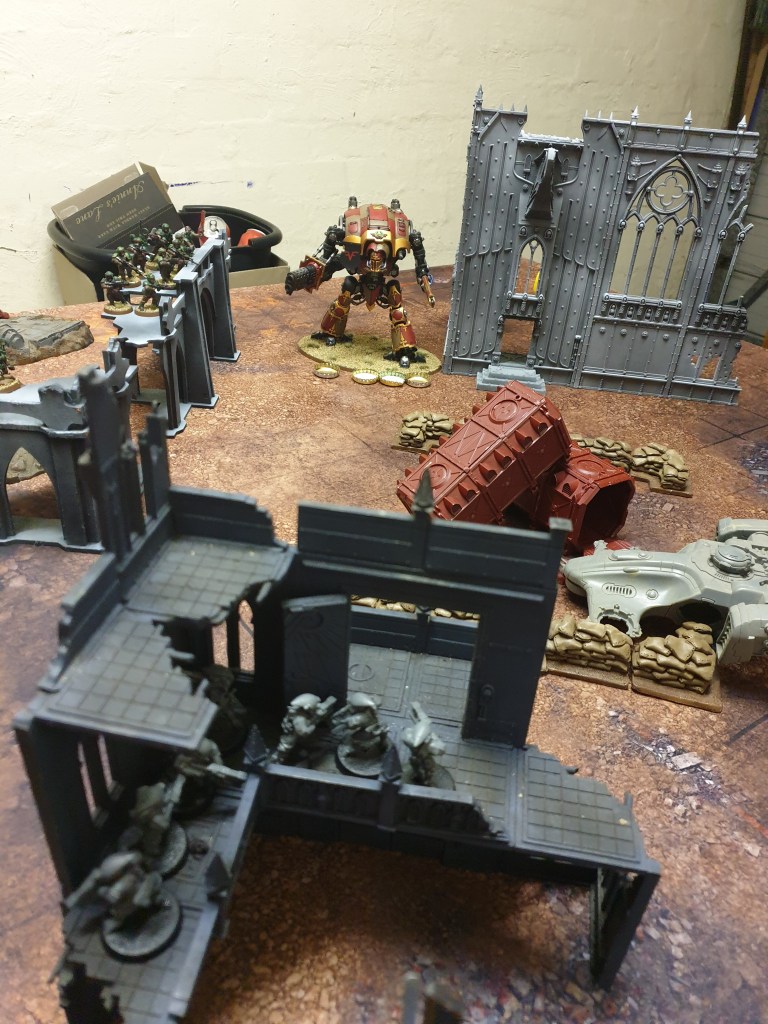
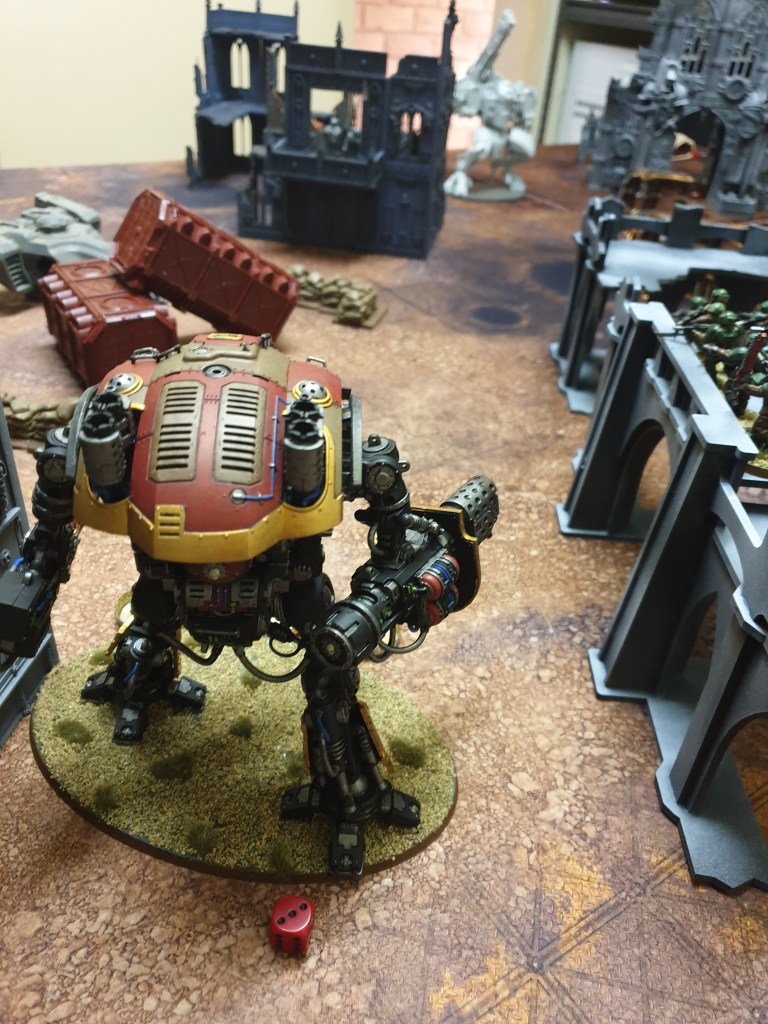
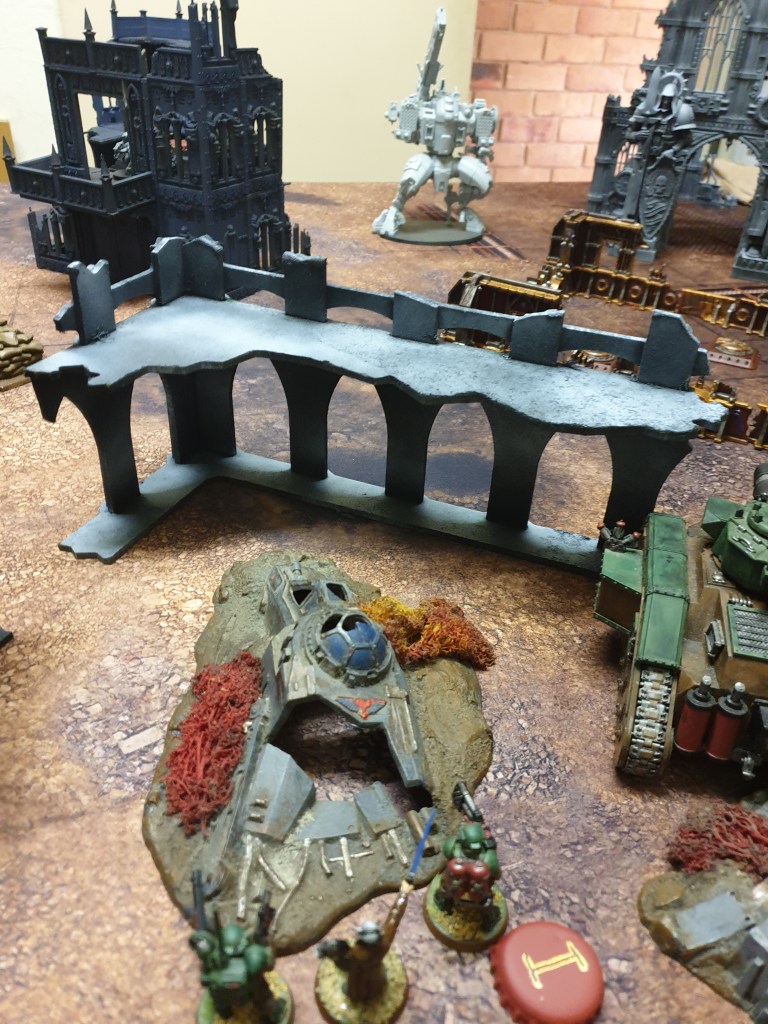
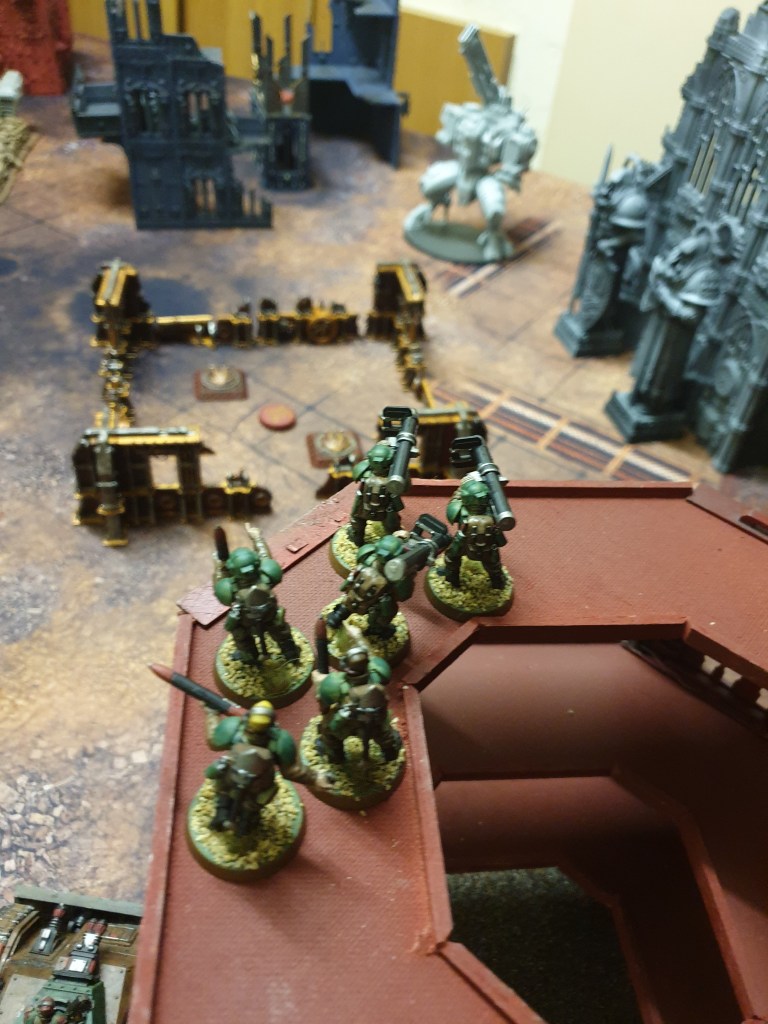
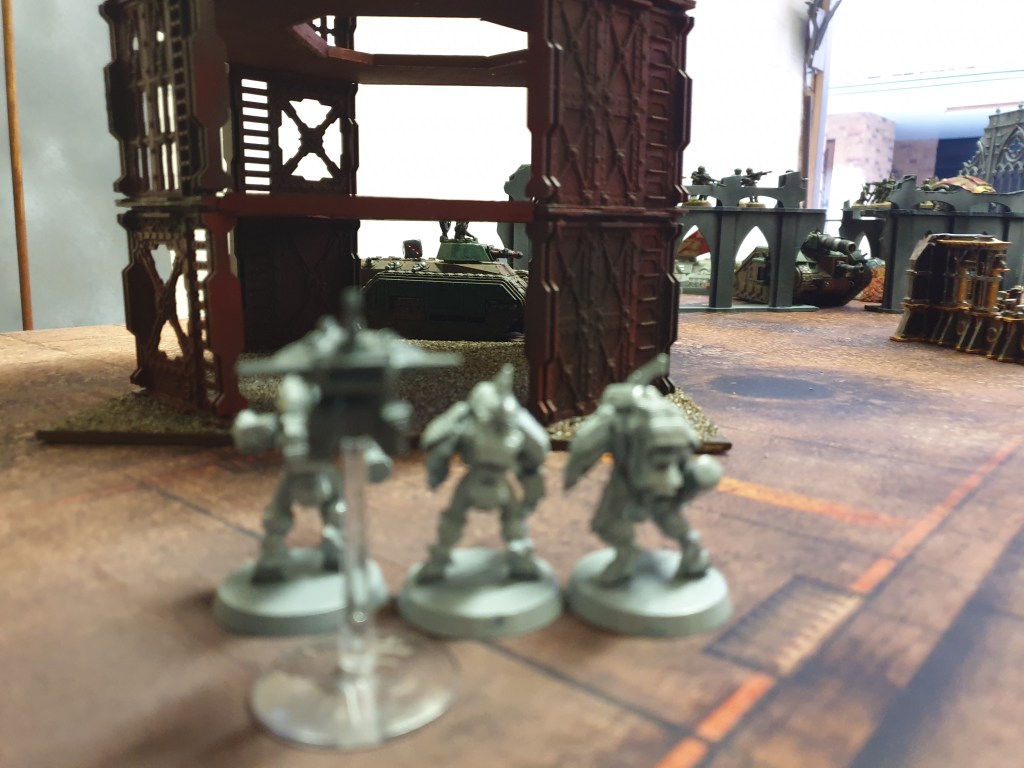
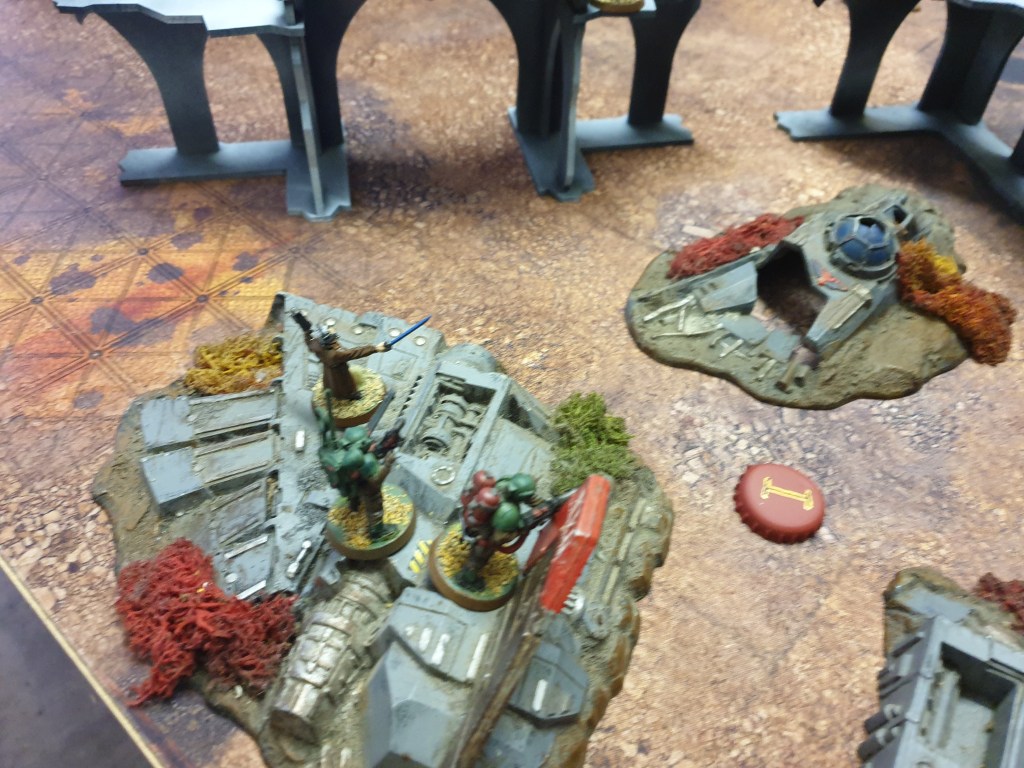
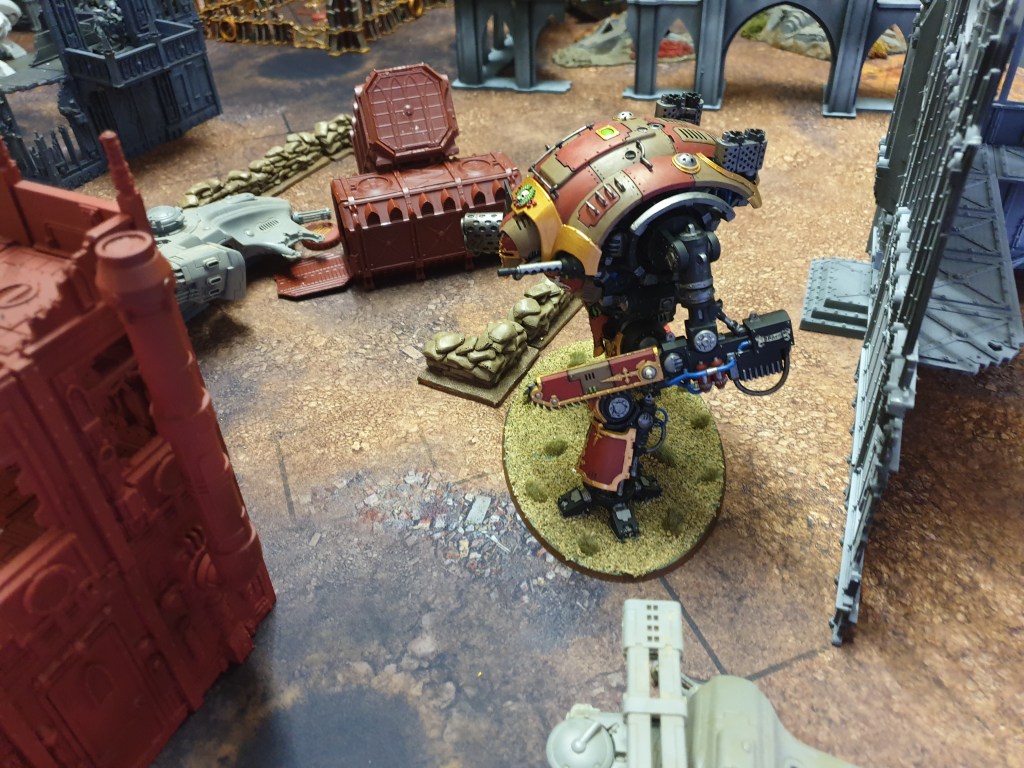
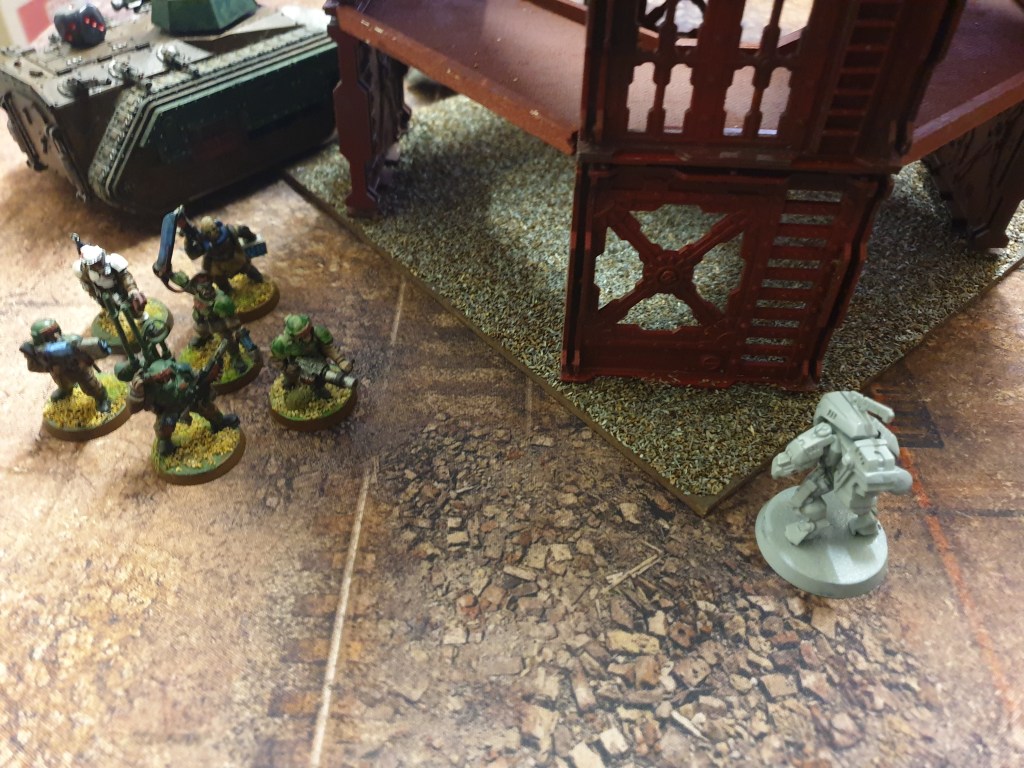
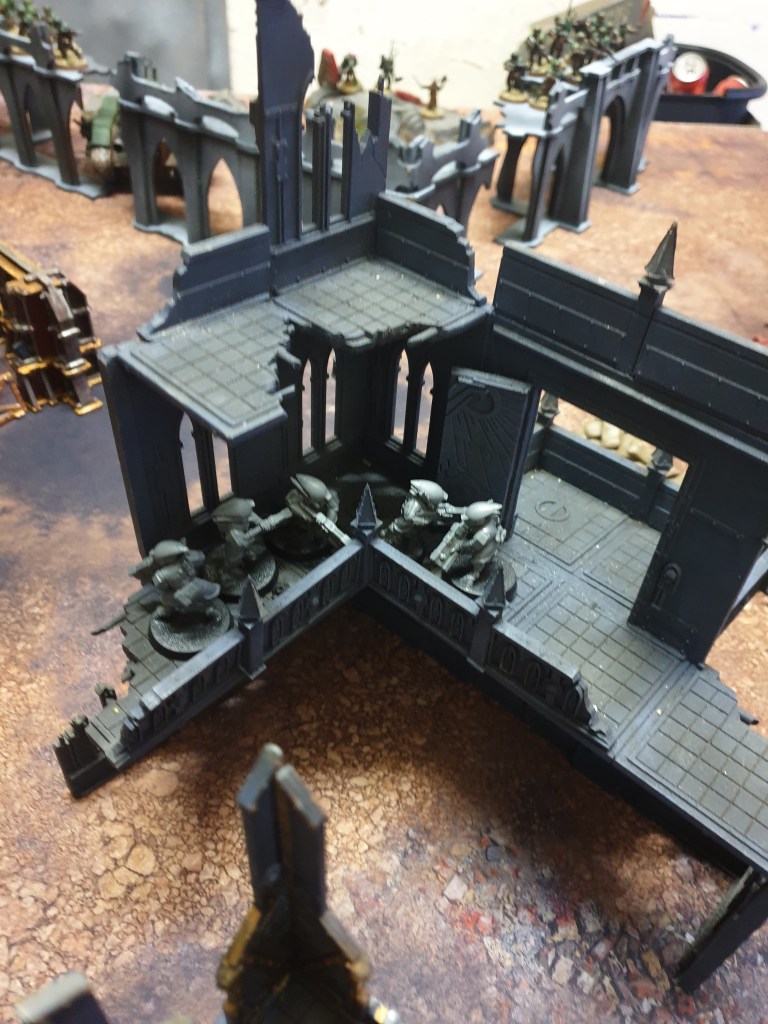
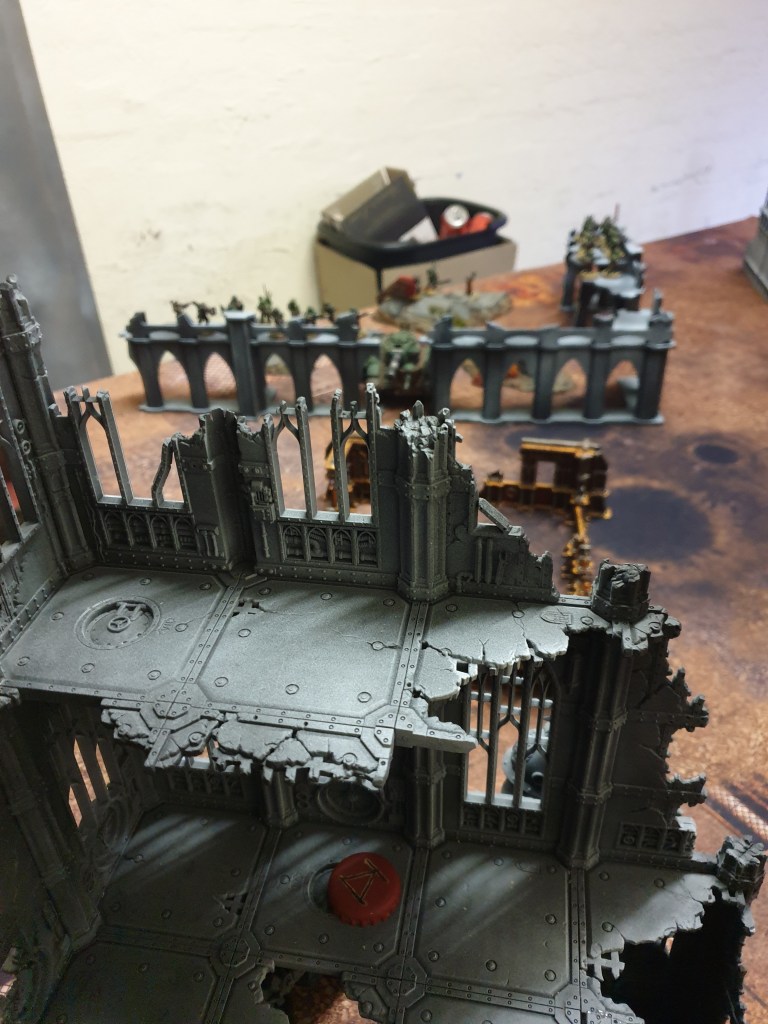
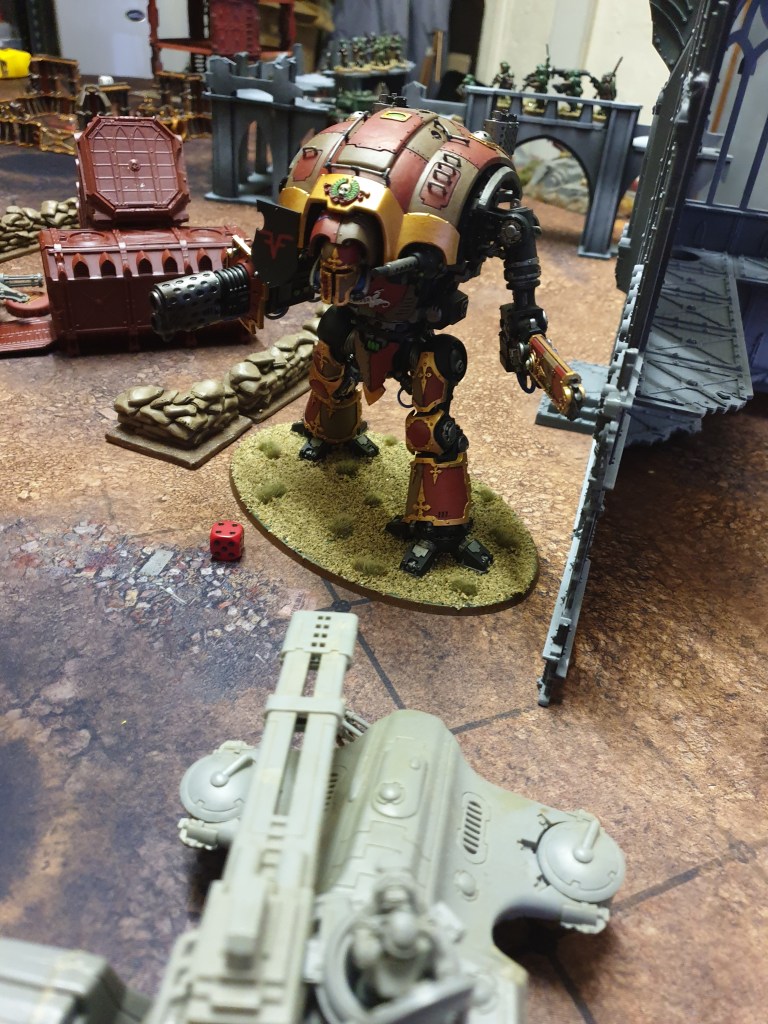
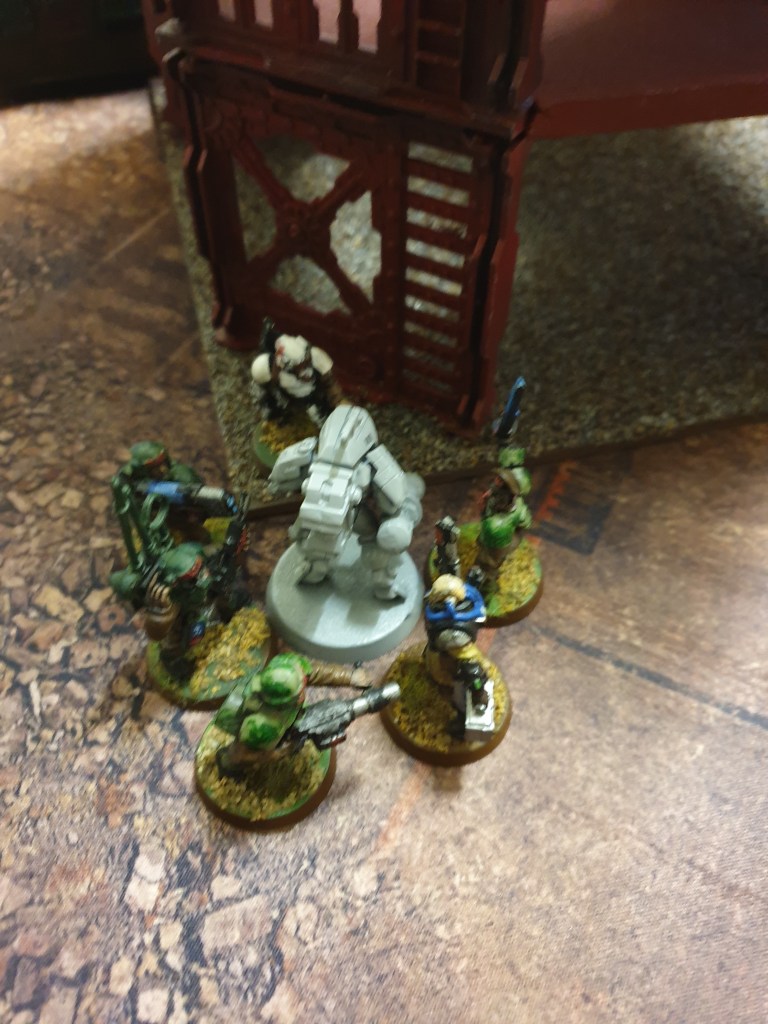
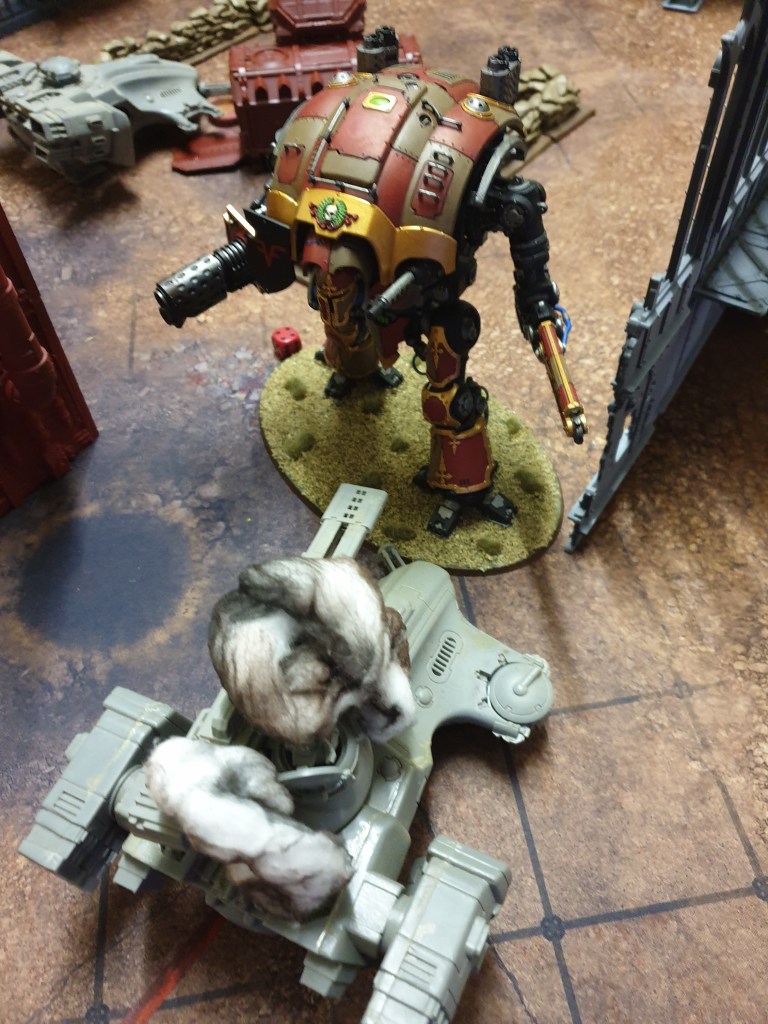
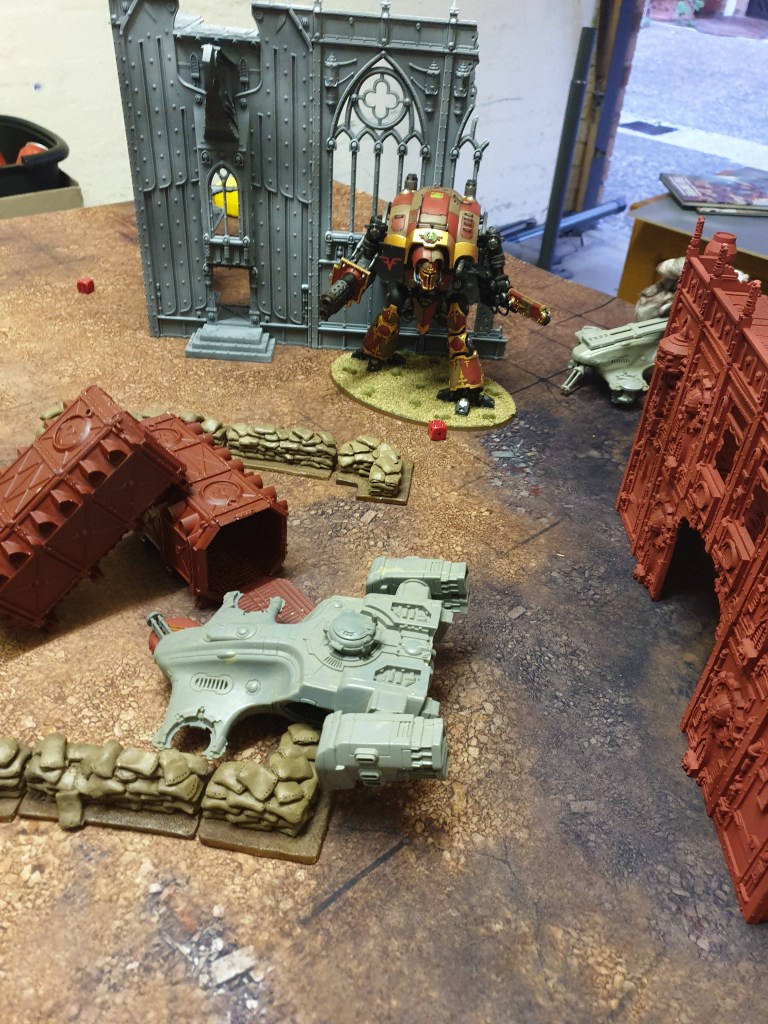
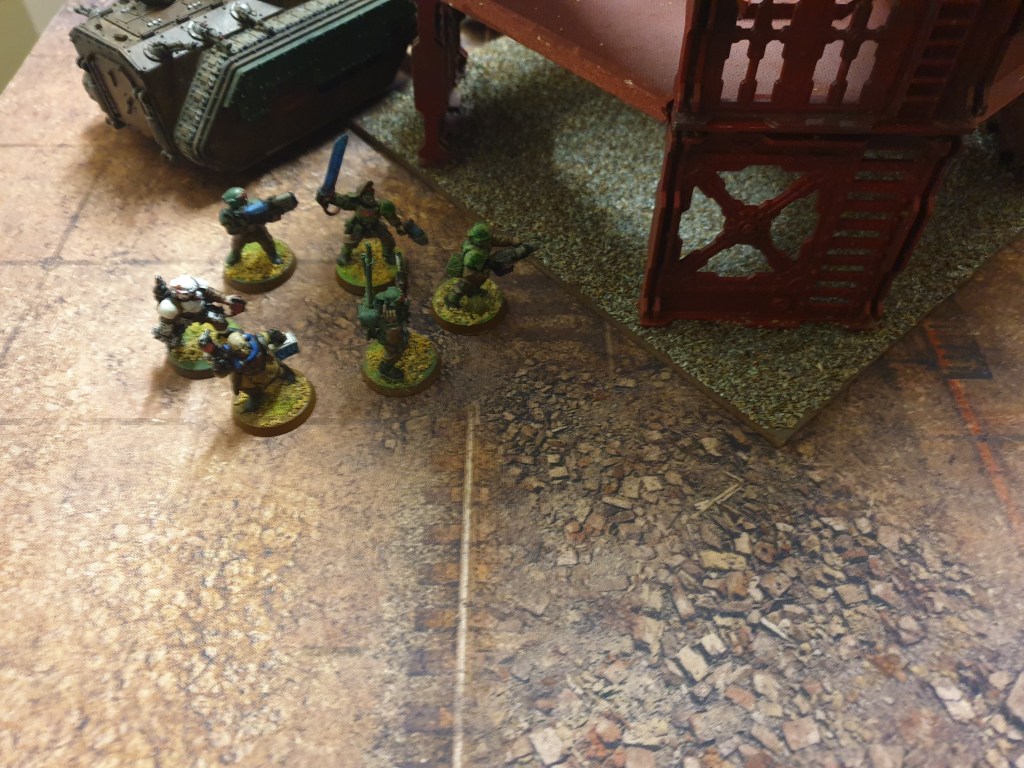
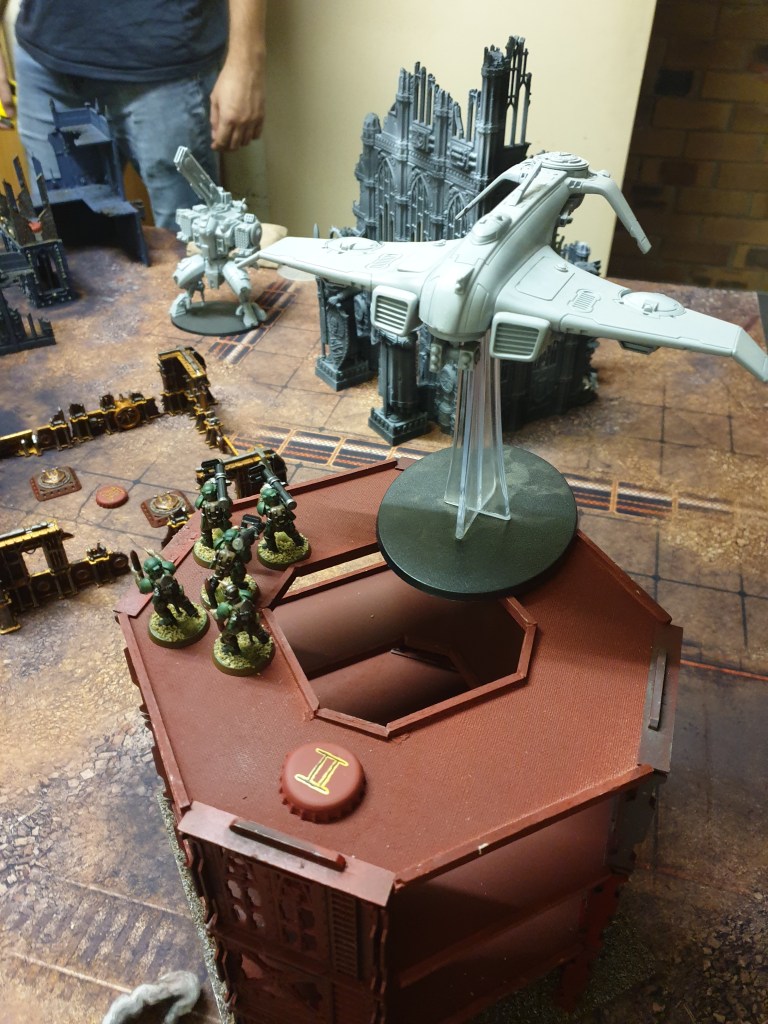
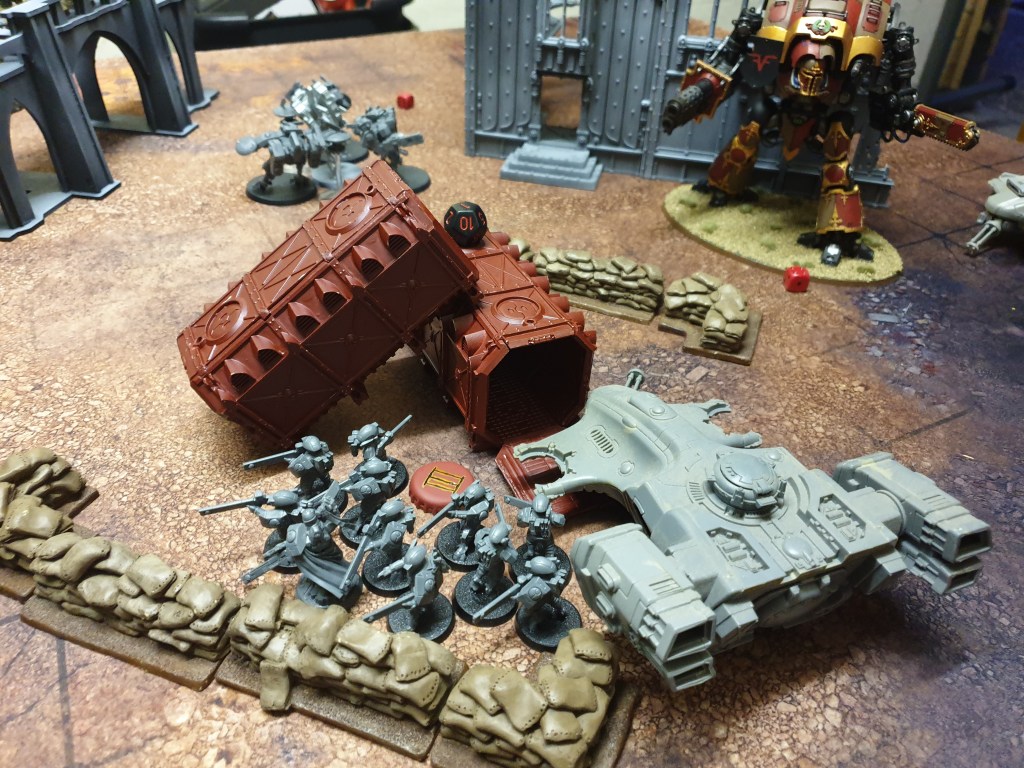
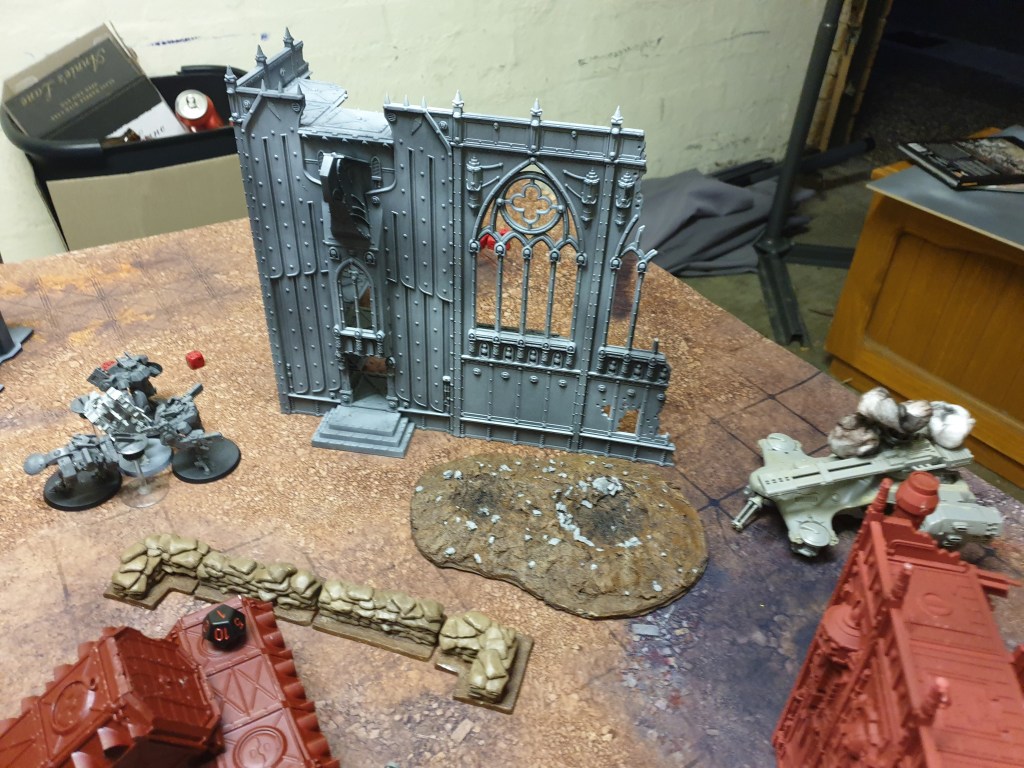
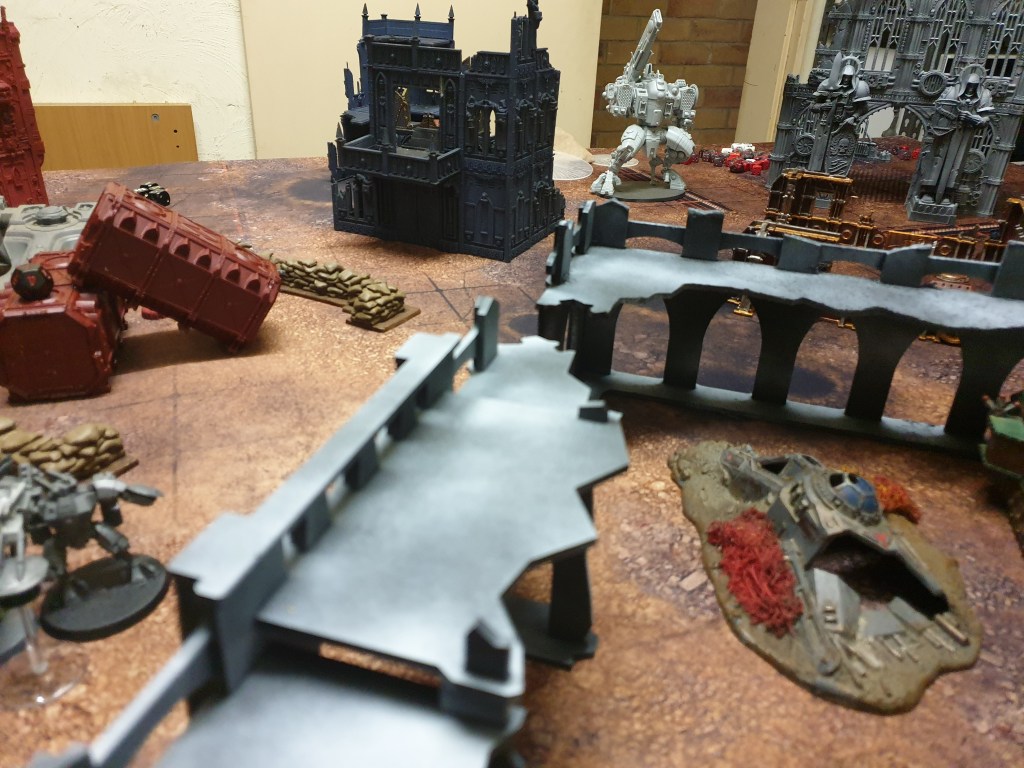
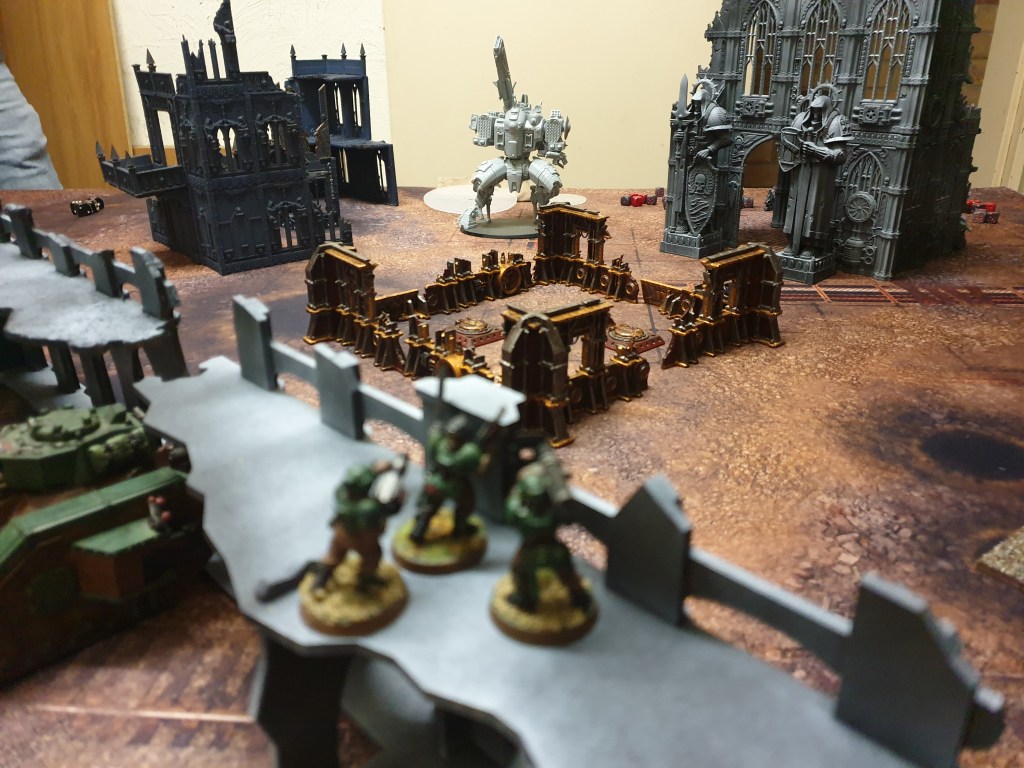
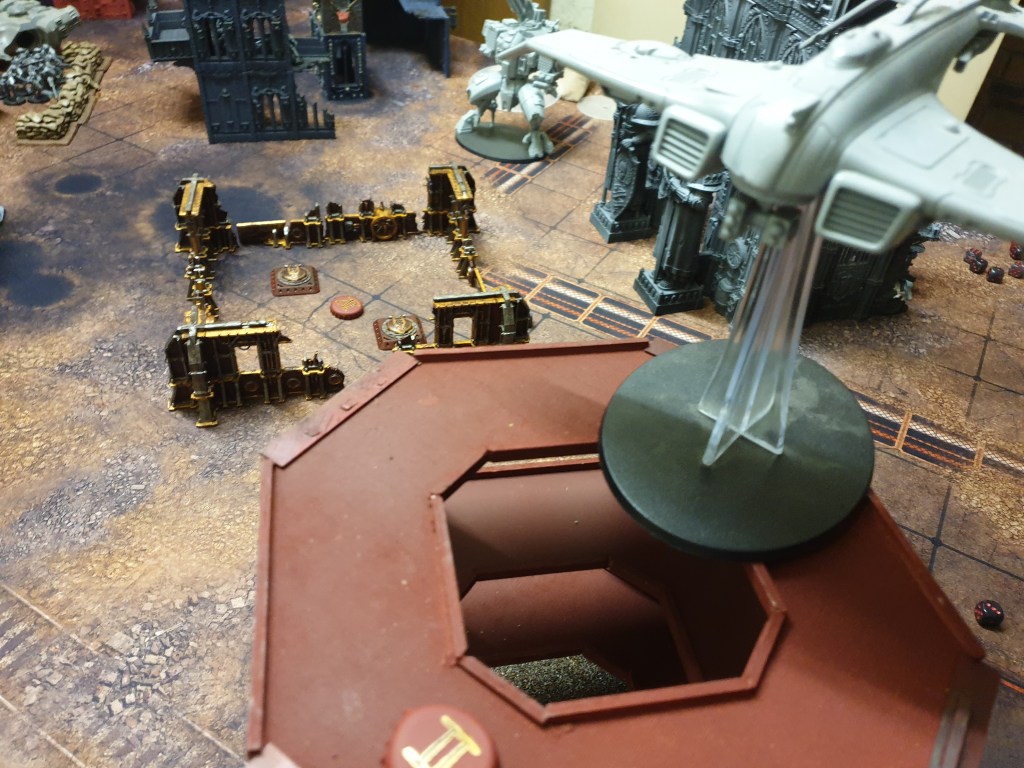
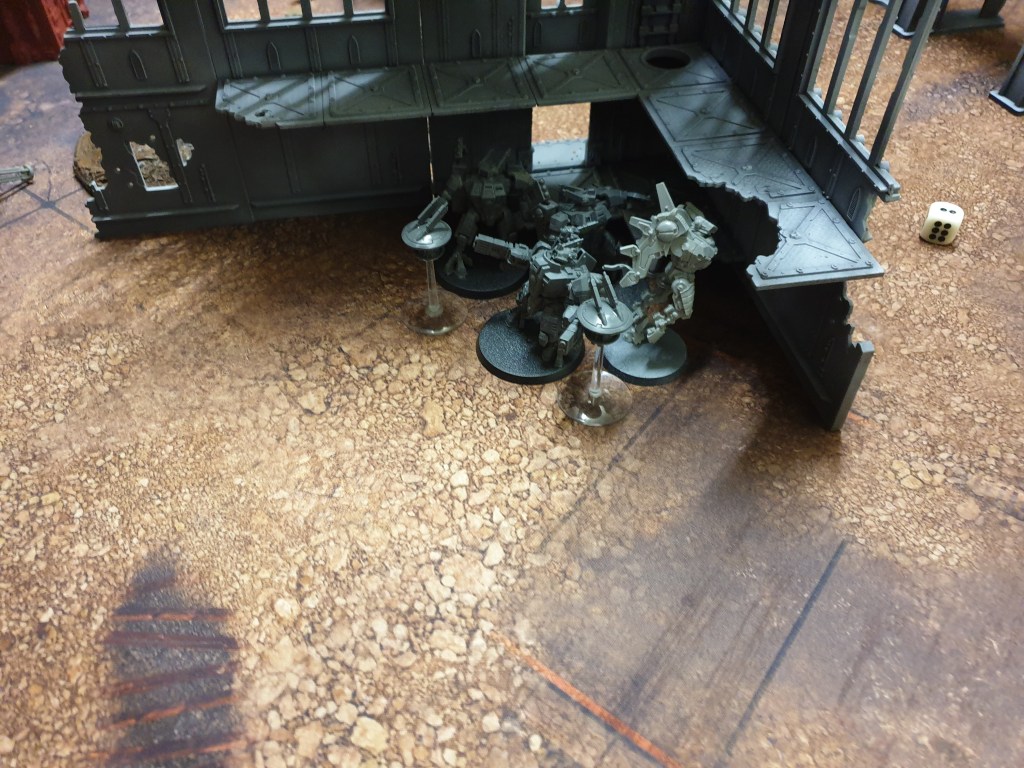
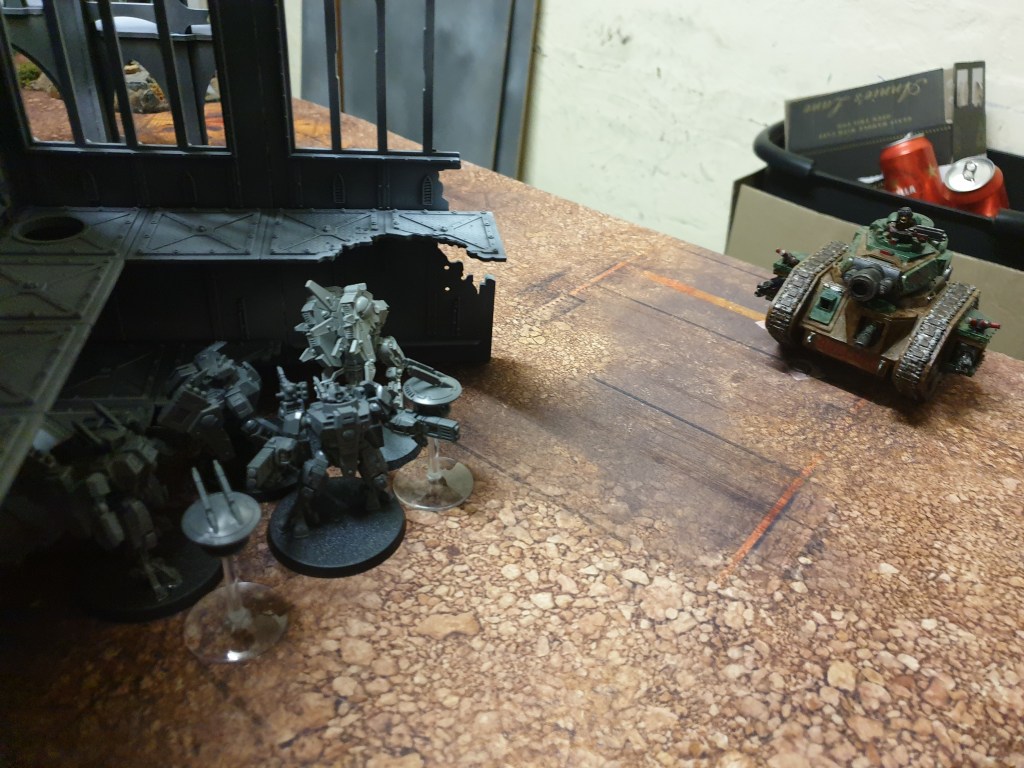
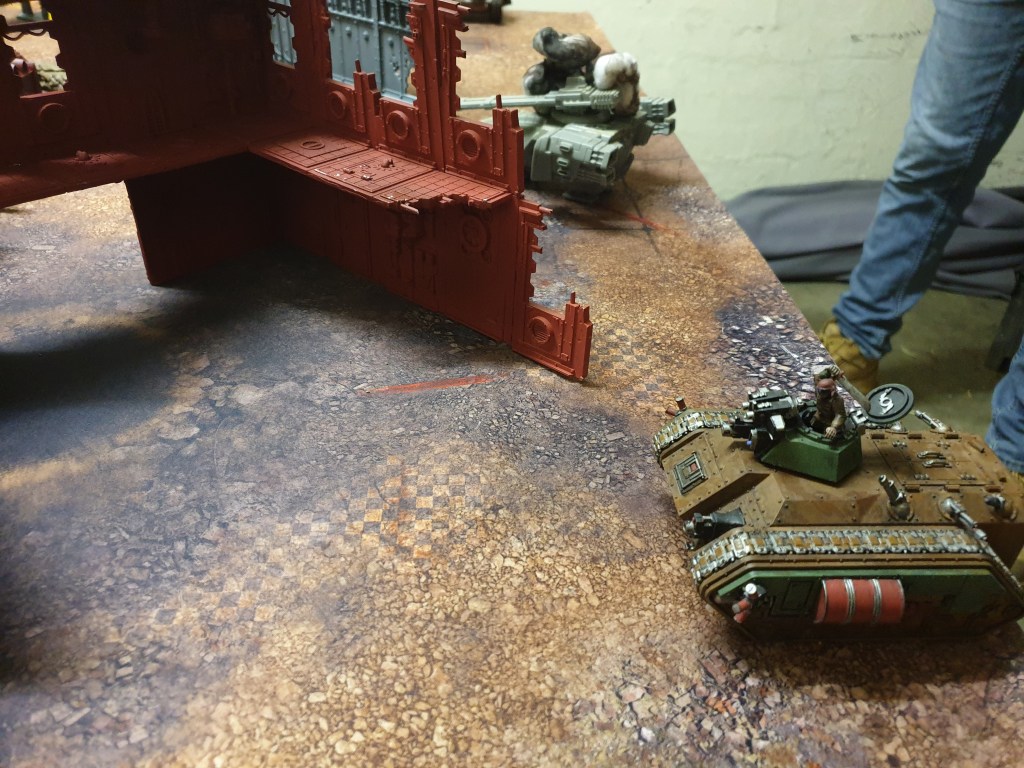
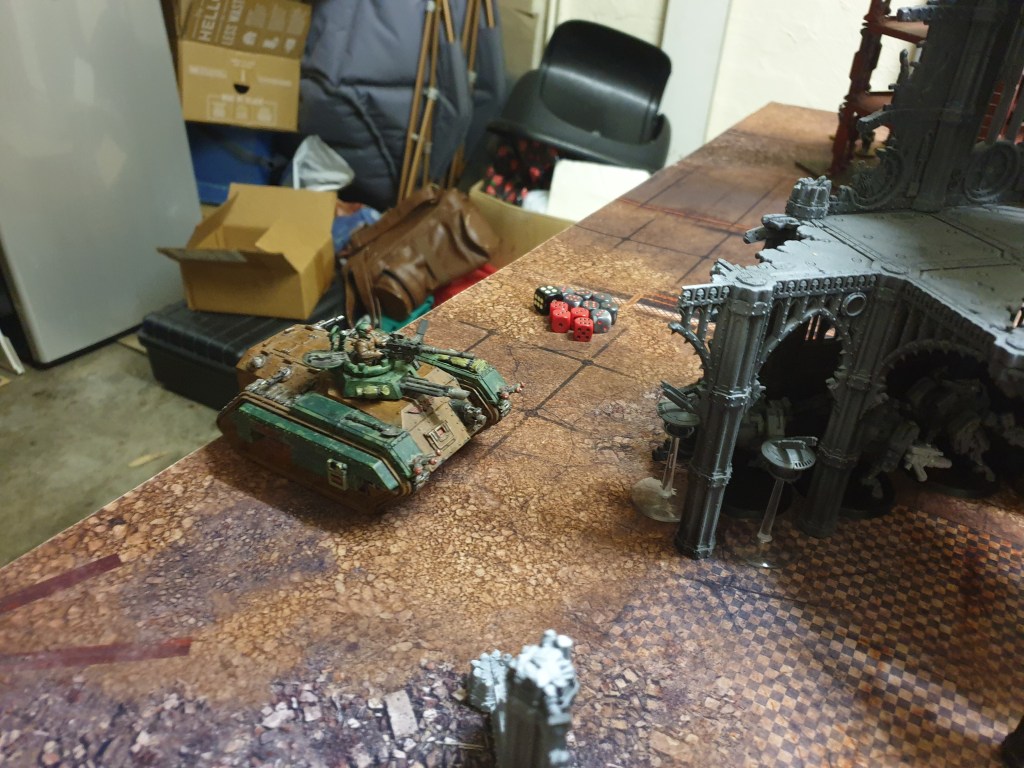
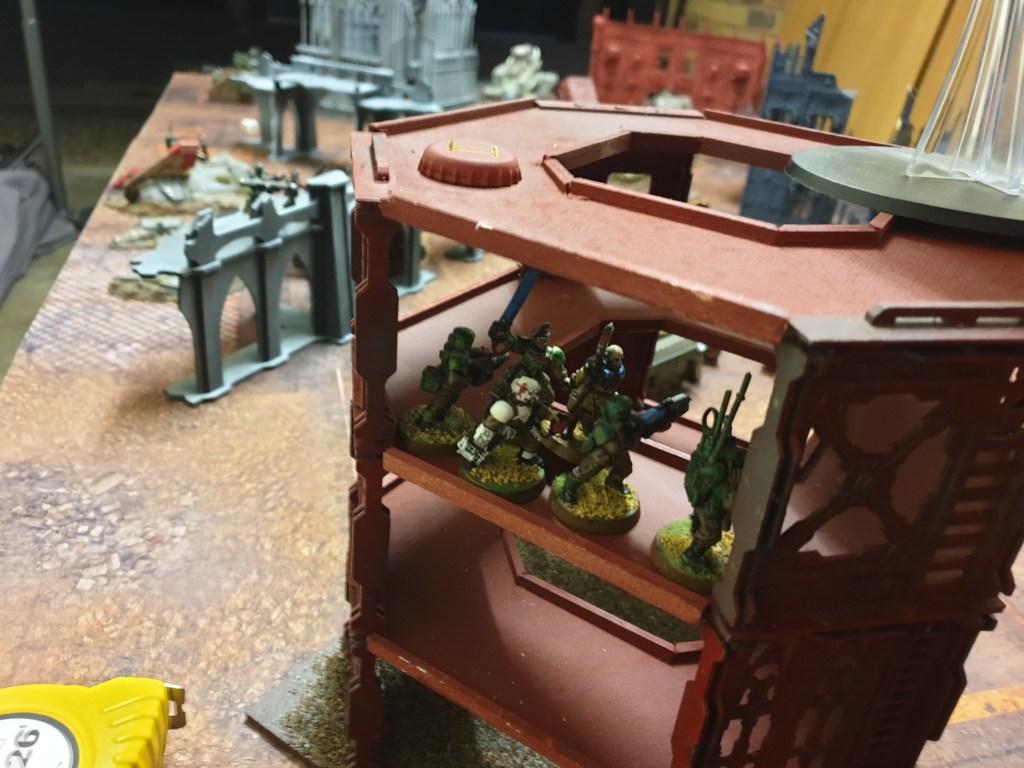
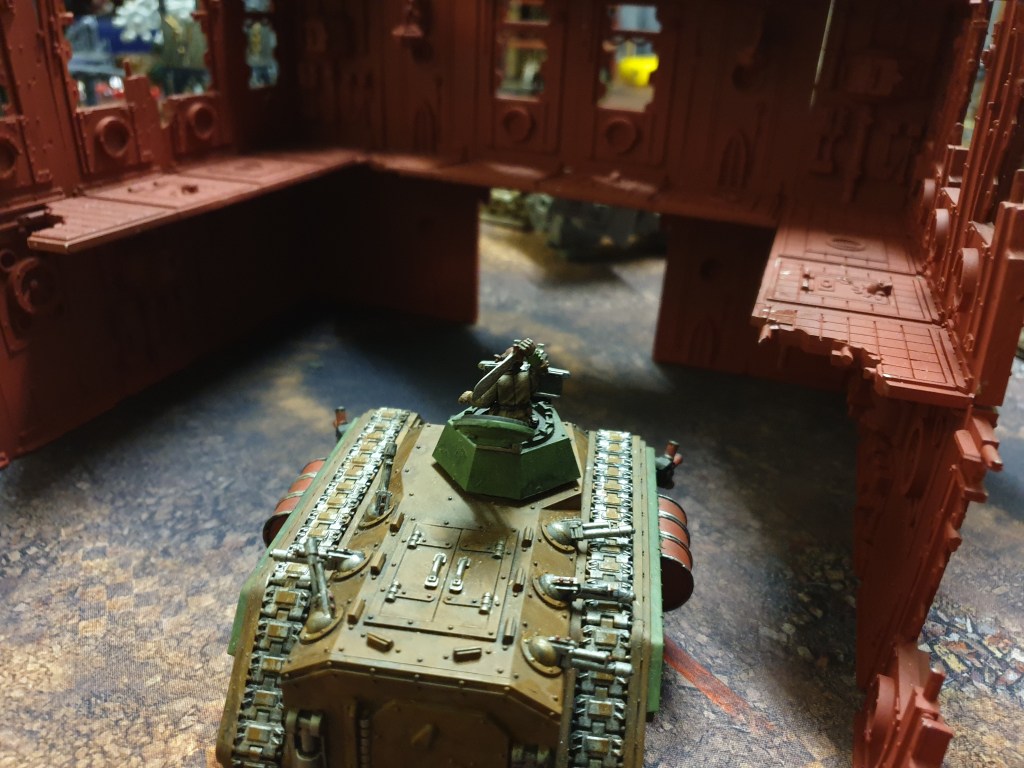
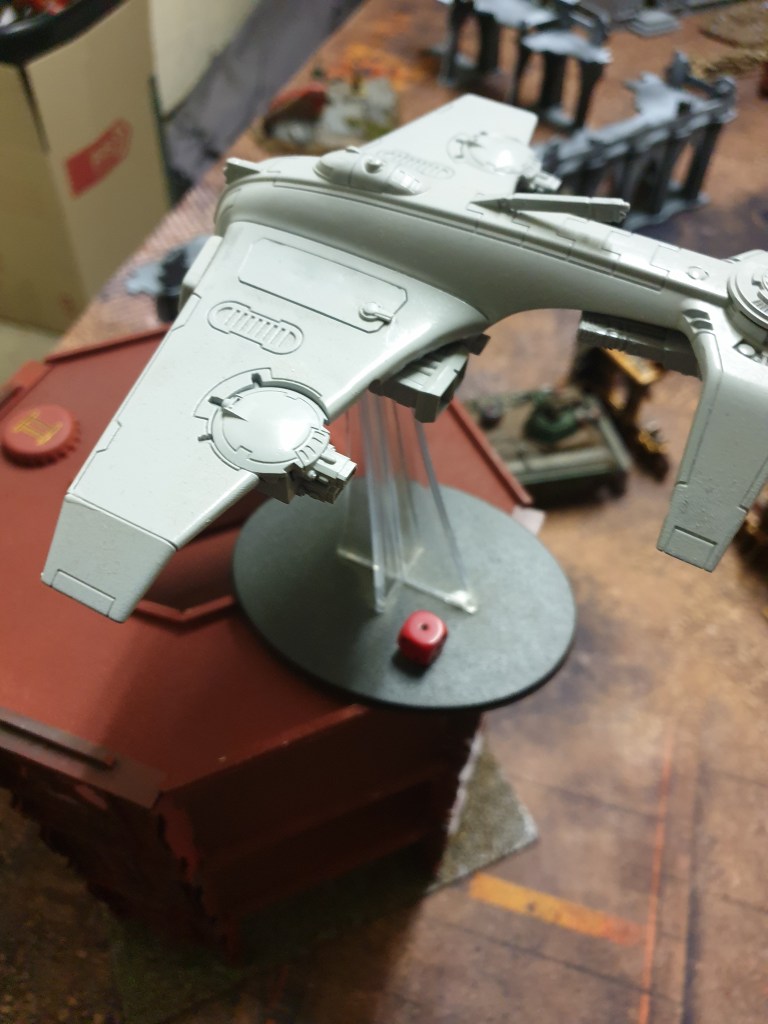
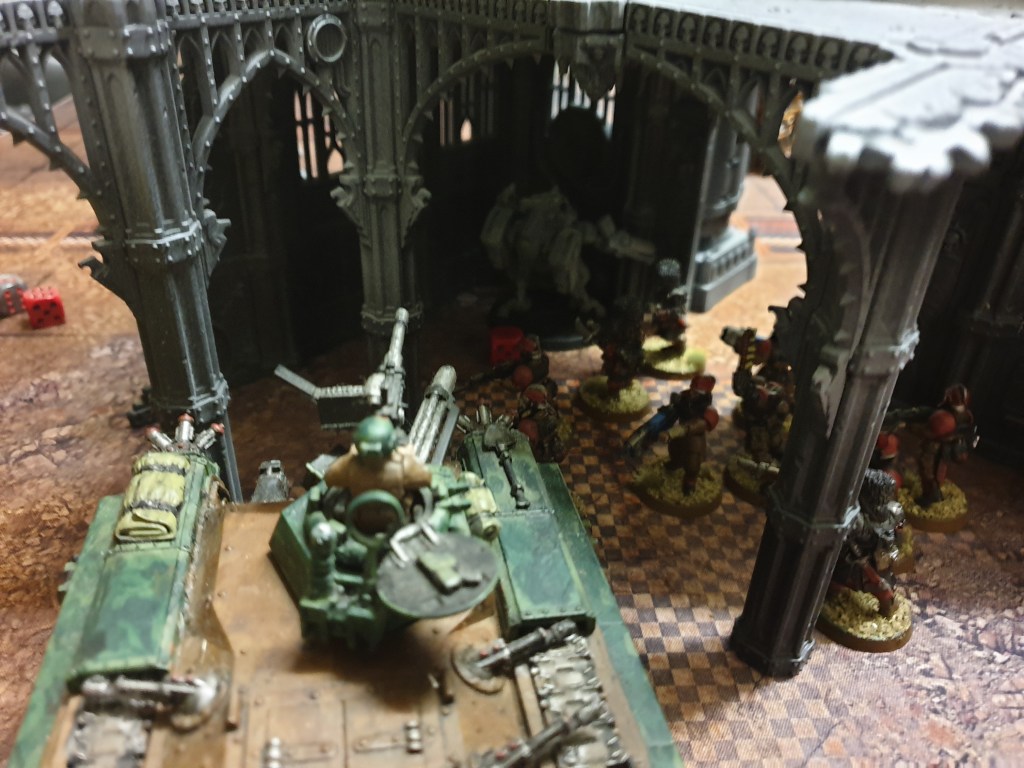
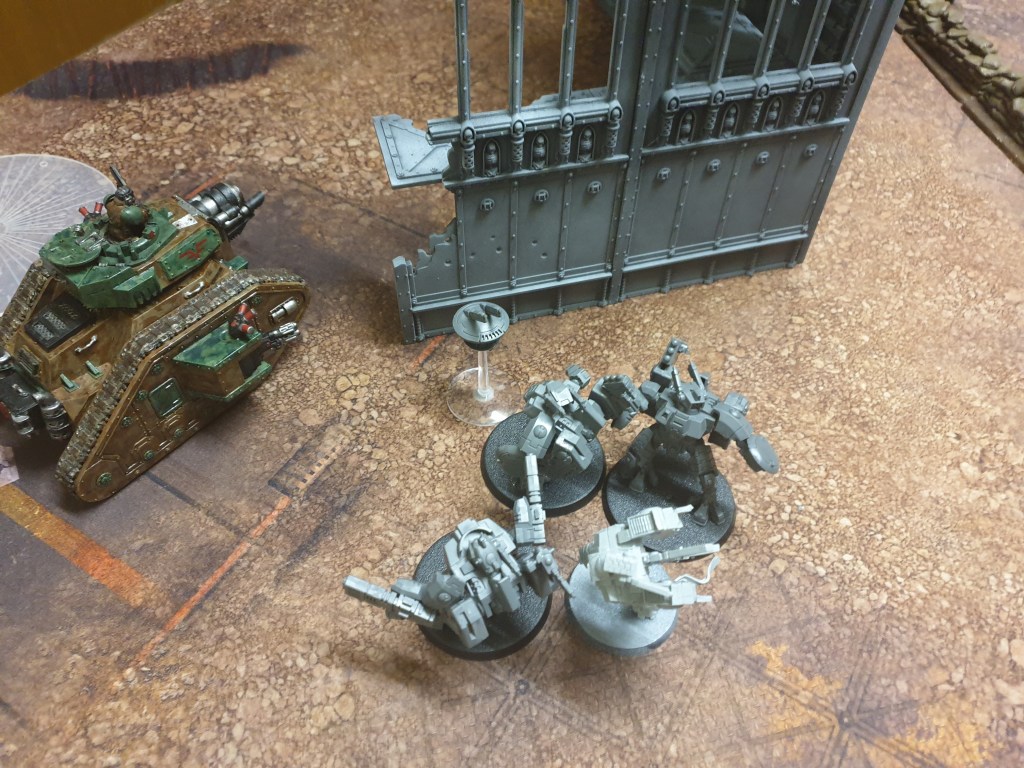
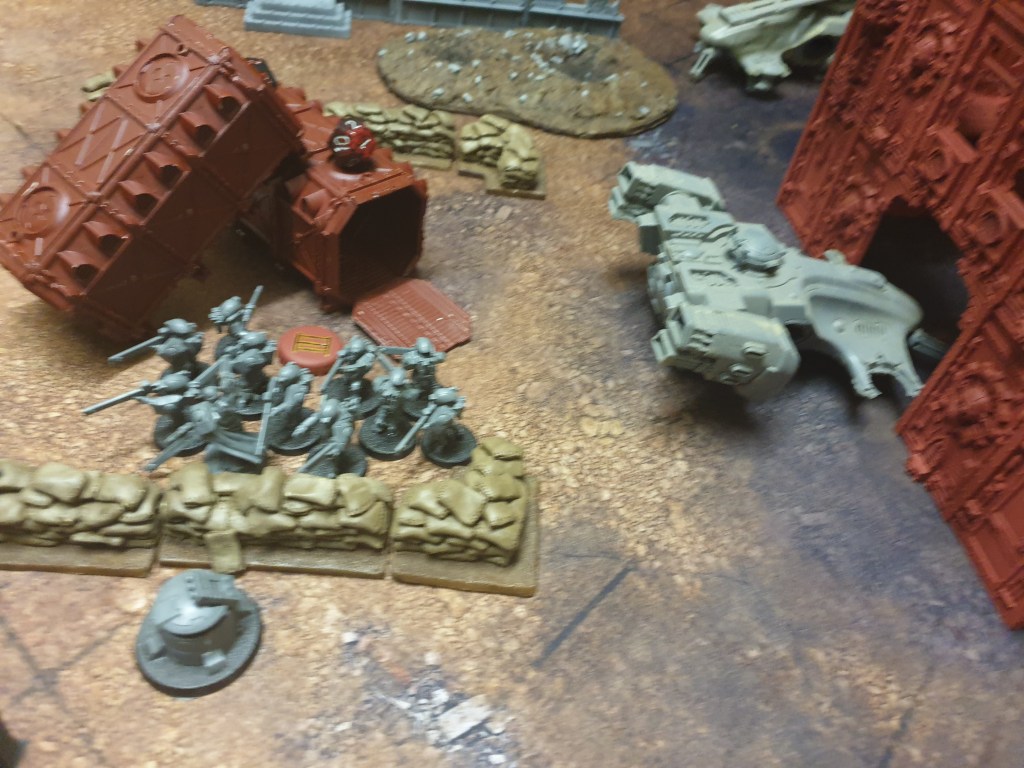
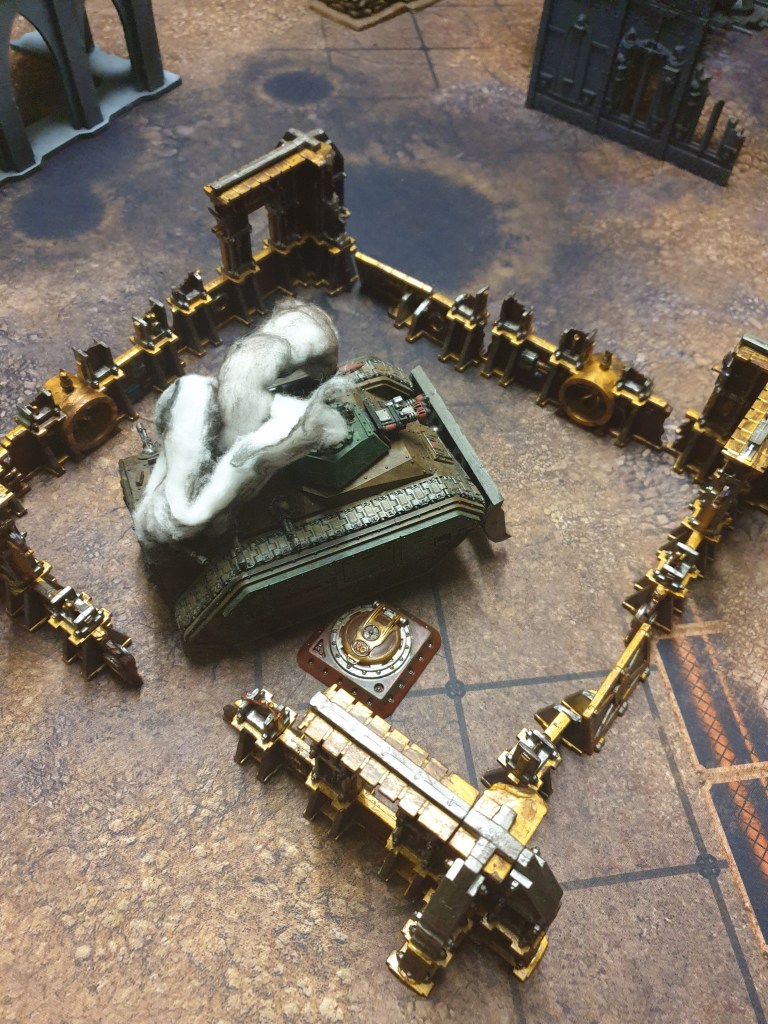
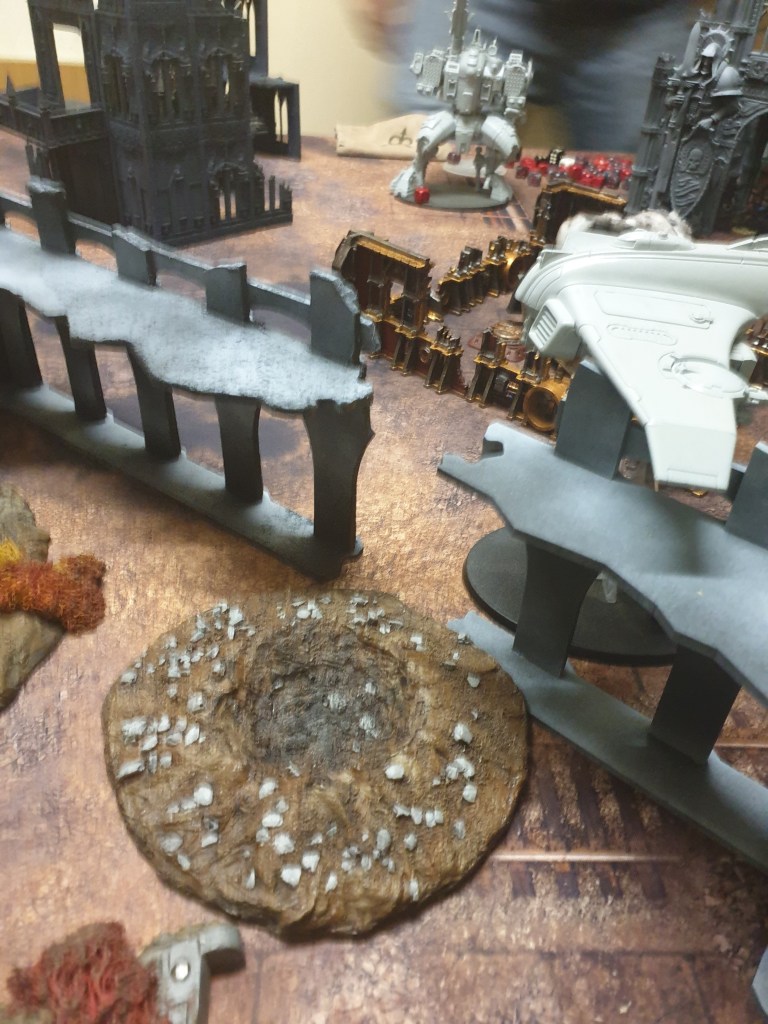
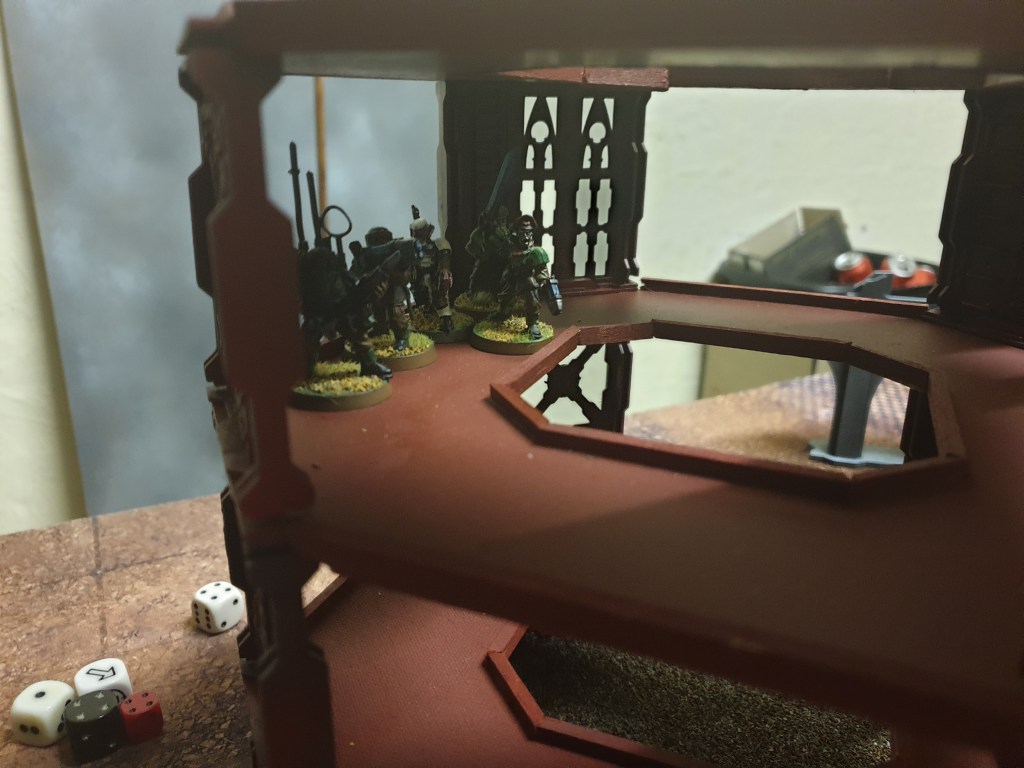
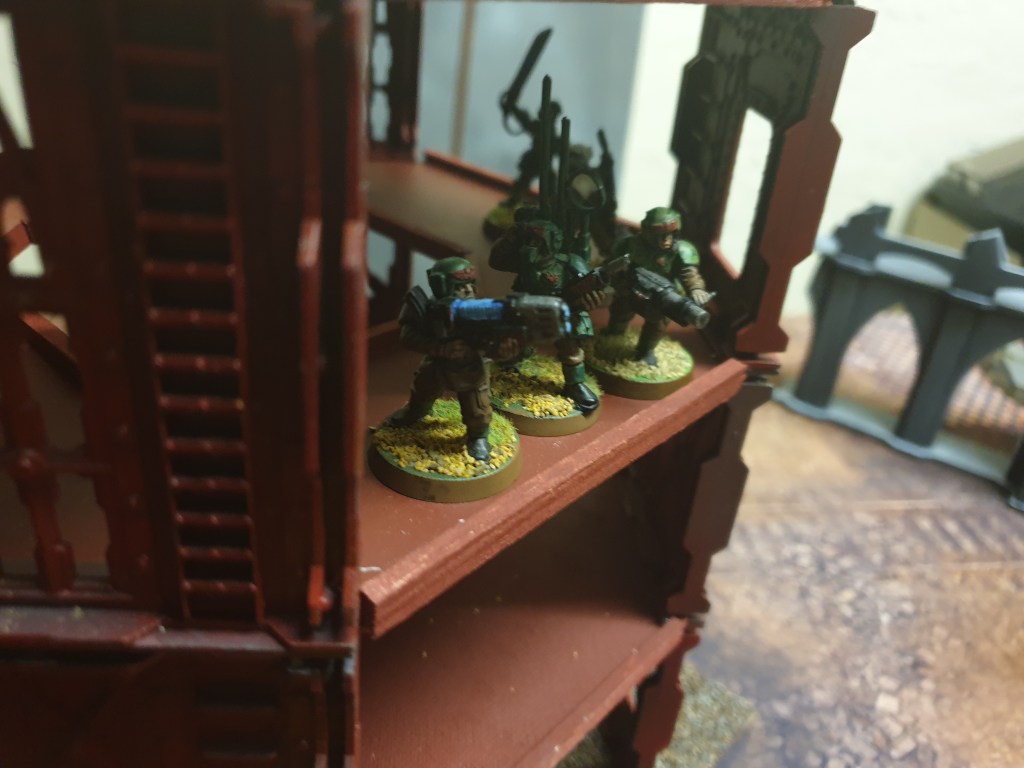
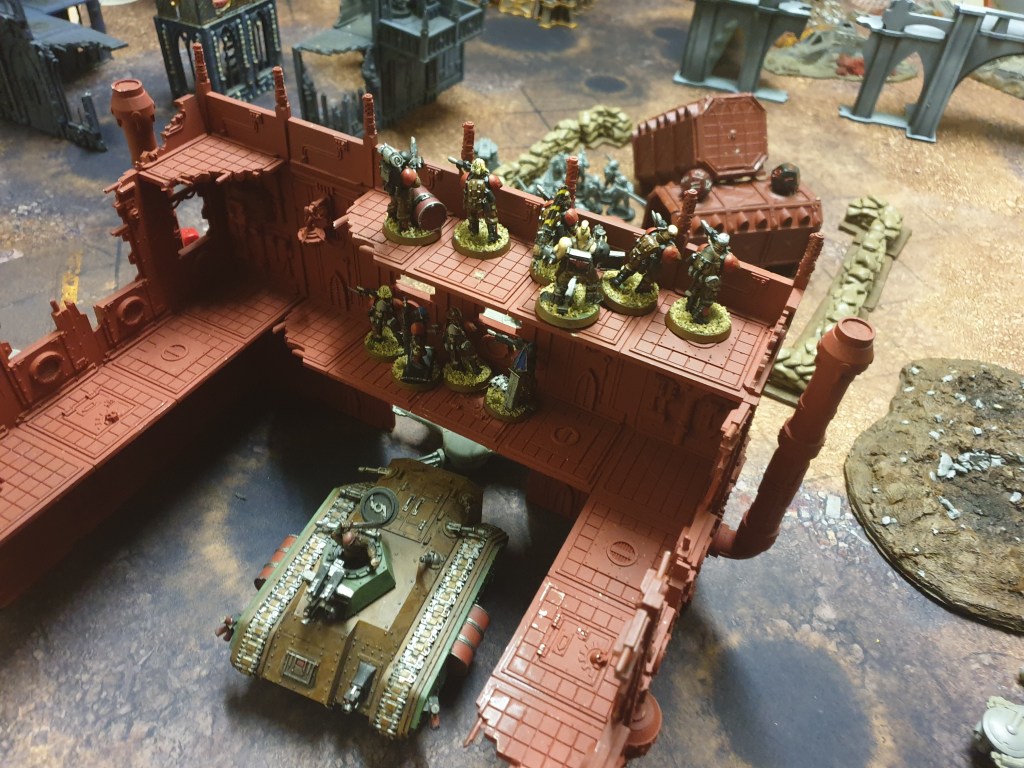
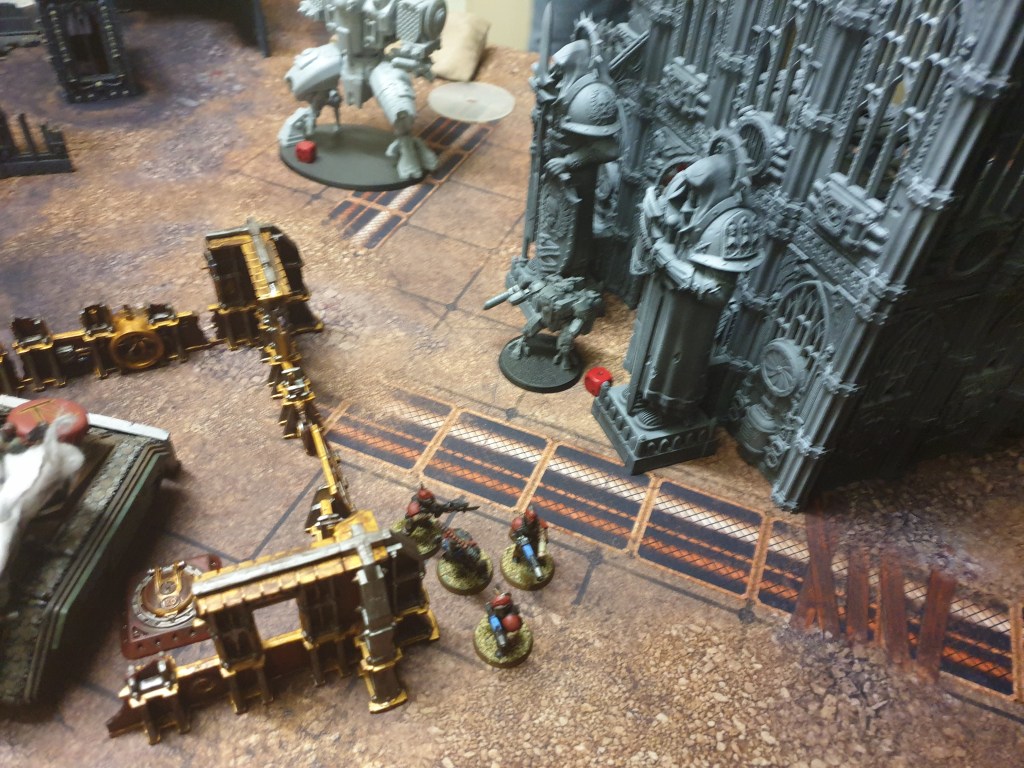
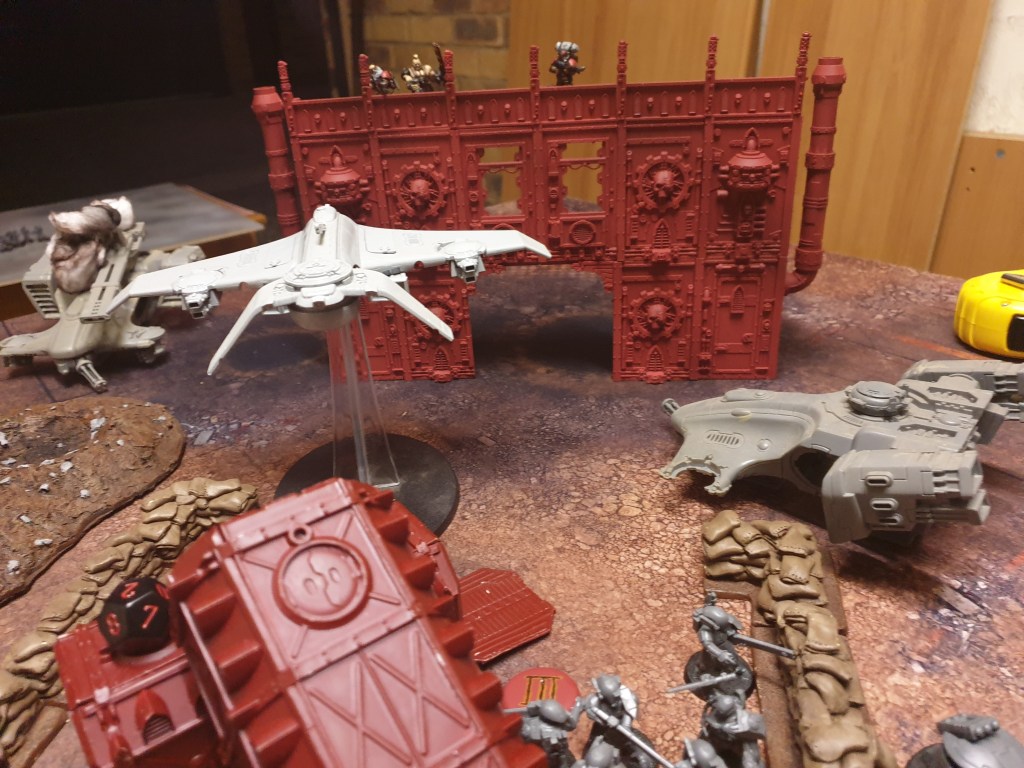
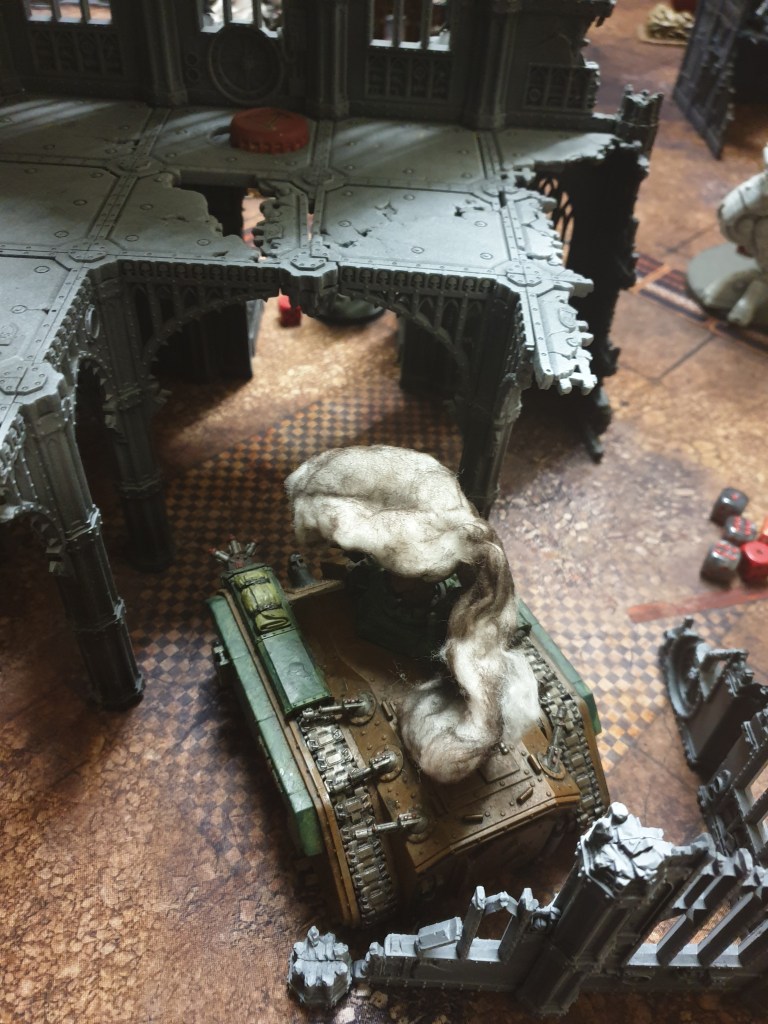
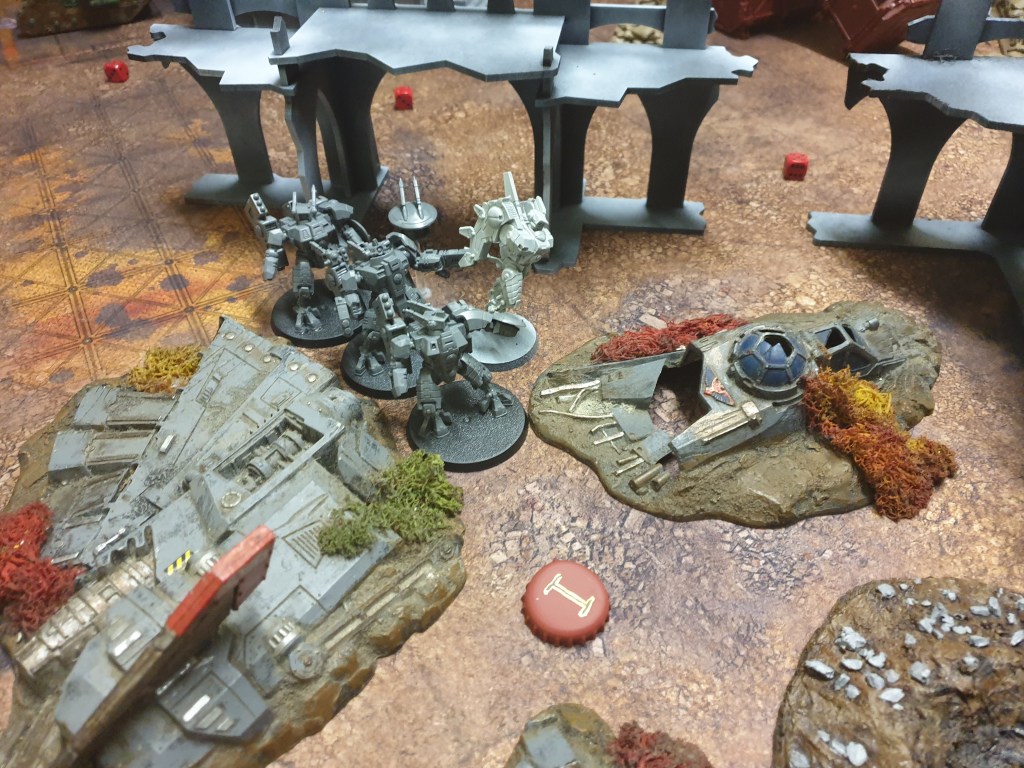
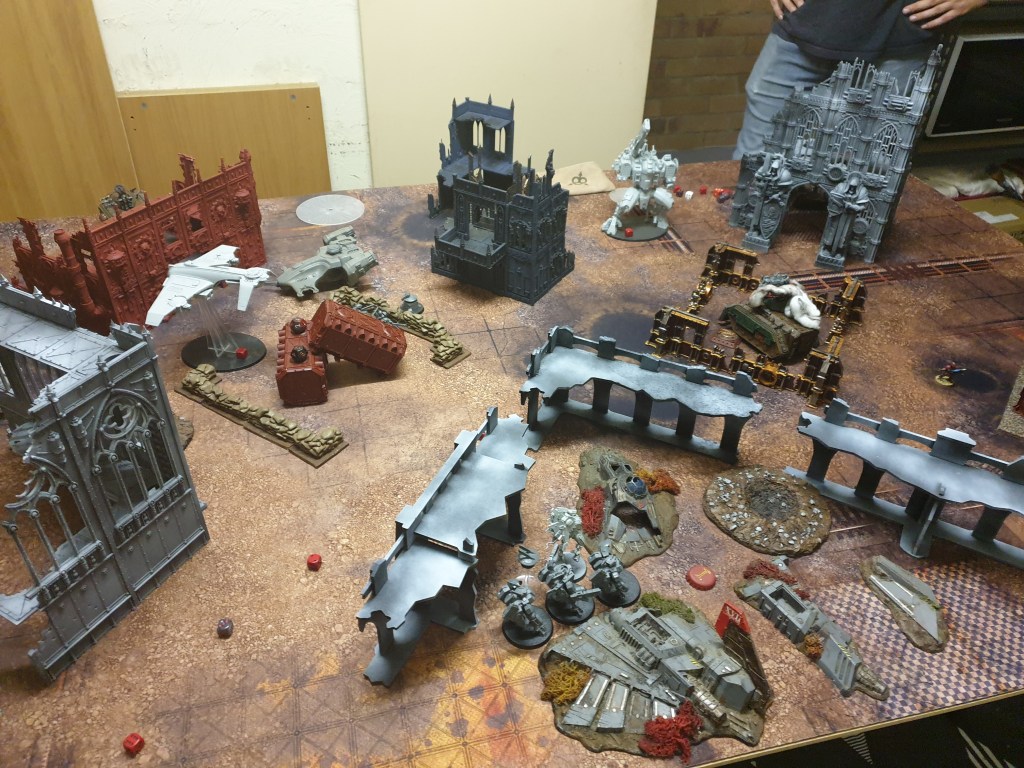
The battlefield, a ruined hive city reduced to rubble by orbital bombardment.The Skyrunner Privateer battleforce, led by captain Ar’ki’la (O’shovah) and containing a squad of flamer/airbursting frag crisis, a squad of ion blaster/missile pod/dual fusion crisis, a fire team led by a fireblade in a devilfish, a large squad of basic pathfinders, a stealth team, a missile broadside and backed by Longstrike in a railgun hammerhead, the ace Razorshark ‘Mako’ and the massive stormsurge battlesuit ‘Kraken’.The 122nd Highlander force, led by Brigadier Stubbs and command and containing a fire support infantry platoon with a missile launcher squad, black company plasma grenadiers and sniper vets, a squad of droptroopers in a valkyrie, a line of customised chimeras, the leman russes ‘Judge’ and ‘Bulldog’ and backed up by the freeblade knight errant ‘Highlander’. The objectives are placed, with one on the top of the reactor tower, one in the crashed aquila lander, one in the ryza ruins, one by the armoured containers, one in the basilicum and one in the administratum building.The stealth team infiltrates up the flank near the reactor tower. The broadside deploys in the middle level of the basilicum to give fire support while the anti-infantry crisis deploy on the lower level out of line of sight.Kraken takes centre field in front of the highlander gunline while the pathfinders deploy next to the administratum.The fire team in the devilfish deploy on the other side of the administratum, looking to push for the centre objective.Longstrike deploys in the confines of the manufactorum.The Highlander infantry platoon deploys on the top of the sanctum ruins.The platoon command squad holds the objective in the crashed lander while Judge deploys hull down behind the ruins.The heavy weapons team takes the objective at the top level of the reactor tower and Brigadier Stubbs’ flamer chimera deploys in command range of the rebel firing line.Highlander deploys in the shadow of the Aquila Shrine and the rest of the highlander force stays in reserve to make use of the outflank warlord trait.The Skyrunners take first turn and scout move the pathfinders into the administratum.The stealth team moves forward to fire on Stubbs’ chimera.The broadside moves forward to fire on the rebel infantry.The devilfish moves forward into the trenches.Longstrike moves up the flank.Kraken deploys his firing anchors for those savage double shots.The pathfinders land four markerlights on Highlander.Kraken unleashes two destroyer missiles, knocking off half of Highlander’s hull points.Kraken lands a salvo of smart missiles on the platoon command and takes out the heavy bolter.Kraken unleashes his cluster missile system at the missile squad, but they go to ground and avoid any damage.The stealth team fires on Stubbs’ chimera, landing a hull point and shaking it.The stealth team boosts into cover.The flamer chimera pops smoke and the company command deploy to assault the stealth team.The platoon command draw back out of range of smart missiles.Highlander charges in front of the aquila shrine.The company command wipes most of the stealth team after a stellar command from Stubbs.The rebel infantry fire on the pathfinders, taking out the squad leader and another pathfinder.Judge fires on the broadside and wipes it from the table.Highlander assaults Longstrike, and the hammerhead commander lands a hail mary overwatch shot with the railgun.The company command assaults the remaining stealthsuit.Highlander shreds longstrike with his reaper chainsword.Highlander consolidates to hunt down his next target.The command squad wipes the stealthsuit and makes for their transport.Ar’ki’la and the anti-armour crisis land in the middle of the rebel lines.Mako enters the field on the far flank.Mako zooms above the reactor tower to fire on the missile squad.The fire team deploys into the trenches.Ar’ki’la’s squad fires into Highlander, dealing another hull point.Kraken puts a cheap destroyer missile through the door of the administratum and finishes off highlander (big oof).Kraken wipes an infantry squad from the ruins with cluster rockets.With his (bullshit) second round of shooting, decimates the other infantry squad.Mako wipes the missile launchers from the top of the tower.Ar’ki’la’s squad boosts into the aquila shrine.Bulldog rolls onto the field in front of the crisis suits.The sniper vets’ chimera outflanks next to the manufactorum.The grenadiers’ chimera outflanks next to the basilicum.The company command move into the reactor tower.The chimera moves into the basilicum and deploys the grenadiers in front of the crisis squad.The flamer chimera rolls towards the objective. Judge and the remaining infantry fire on Kraken, dishing out a wound.Bulldog moves forward, lining up Ar’ki’las squad.The sniper chimera moves into the manufactorum.Stubb’s himself lands a lucky plasma pistol shot on Mako.The flamer chimera flat out moves into the ryza ruins, capturing the objective and securing a tactical vp.The multilaser chimera and grenadiers fire into the crisis team, all but wiping them out.Bulldog fires into the crisis suits, but only manages to take down a single shield drone.Ar’ki’la’s squad boosts into Bulldog’s flank.The devilfish moves to block line of sight to the fire team. The fire team deploys their missile launcher.Mako zooms in front of the rebel lines.The crisis team fires into Bulldog, but fail to do any damage.The pathfinders land a markerlight on Judge.The fire team wipes the flamer chimera.The last crisis suit deals heavy damage to the grenadiers.Kraken wipes Judge with his last destroyer missile and the platoon command with cluster rockets.Mako finishes off the rebel infantry squad.Kraken lays into the grenadiers with cluster rockets and they flee into the open.The company command take fire and lose their officer of the fleet.Ar’ki’la’s squad assaults Bulldog.The captain makes short work of the battle tank.The command squad moves into firing position.The sniper vets climb into the manufactorum.The chimera lines up the last crisis suit, but fails to take it down..The sniper vets fire into the fire team, causing heavy damage.Ar’ki’la moves for the objective.The crisis suit moves to take down the fleeing grenadiers.The combined fire of the tau wipes most of the sniper vets. Sergeant Harker flees for the table edge.Kraken finished off the chimera.The remaining flamer crisis boosts onto the objective.Ar’ki’la’s squad moves onto the objective.The game is called with the last of the rebel’s reserves failing to make the table on turn four. A resounding victory for the tau. Very much not impressed with my own performance in this match. With some important errors and my valkyrie not making the table, coupled with a flawless tactical performance from my little brother, leading to an absolute thrashing. Well done to my formidable opponent!
Samuel Maguire is a writer and professional dropout from all around the worst parts of Queensland. He writes a blog about being nervous and swearing called skydekkerix which he doesn’t know how to pronounce.
View more posts