In the Xenos-ridden outskirts of the Celentine System, a forward base of the rebel 122nd Celentine Highlanders comes under attack by a new threat, an upstart Archon of the Kabal of the Shattered Skull. In the post-apocalyptic streets of a nuclear warzone, a hunting party of the bloodthirsty pirates hunts down there human prey, scrambling comms and isolating the force as the brave rebels prepare to sell their lives dearly.

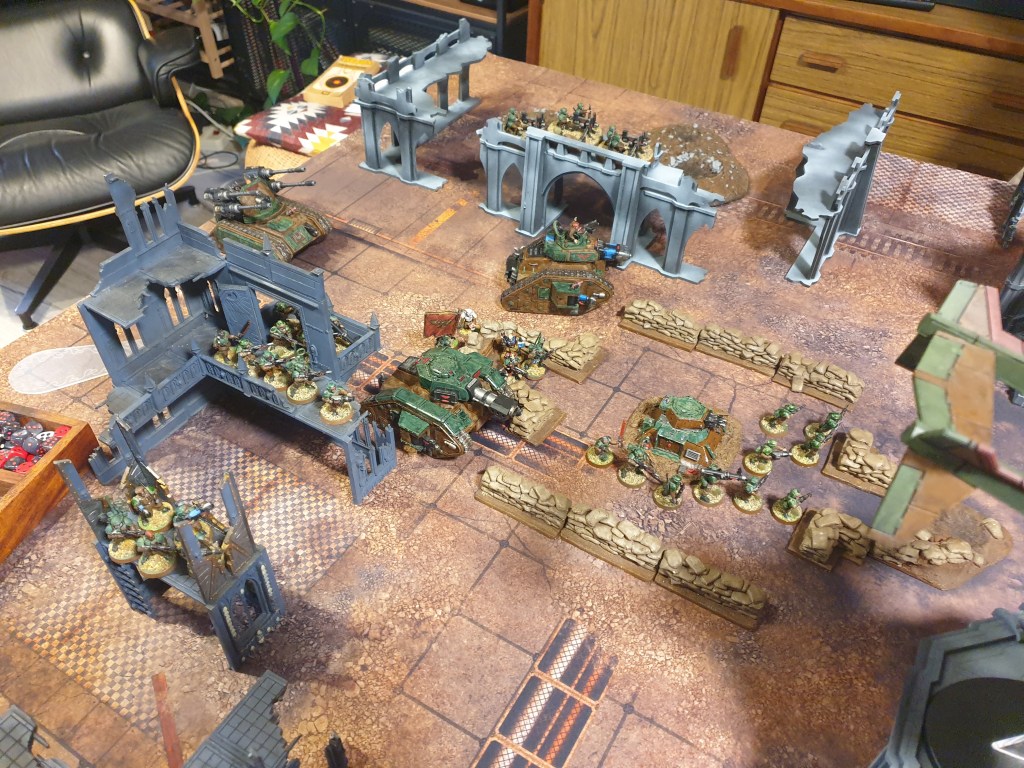
The battlfield, once a monument to human progress and architecture, now a shattered hellscape of craters and ruins. The mission type is scour, the table is divided into quarters worth 3vp if held with no enemies in the bounds. Secondary objectives are slay the warlord, linebreaker and attrition.

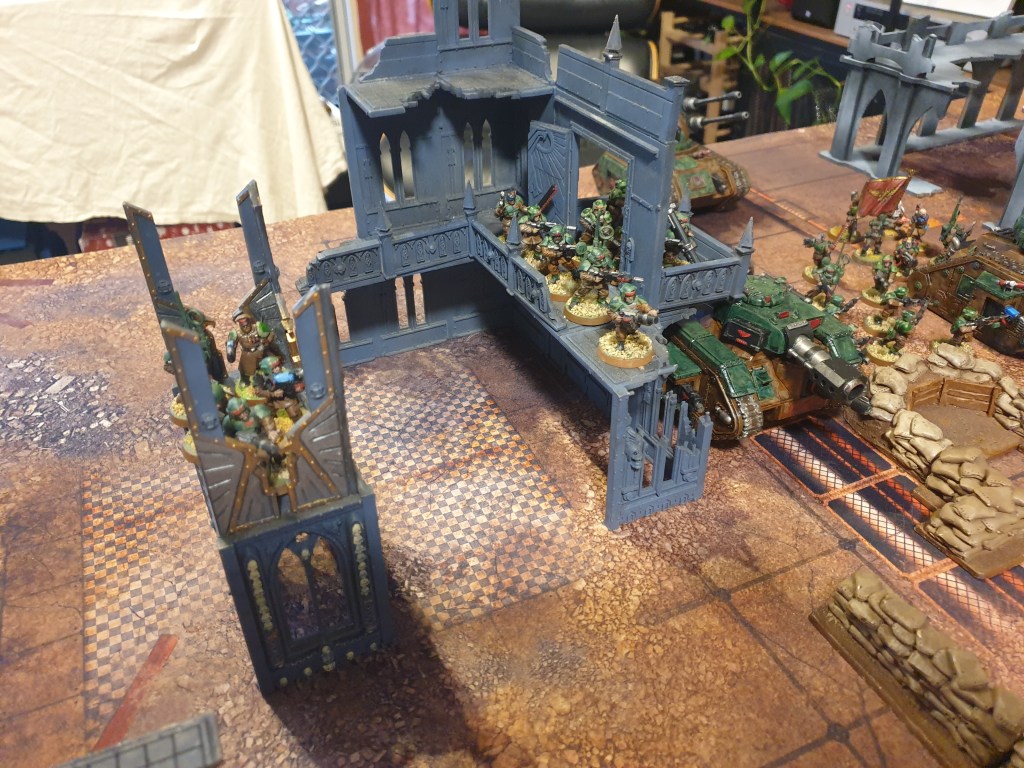
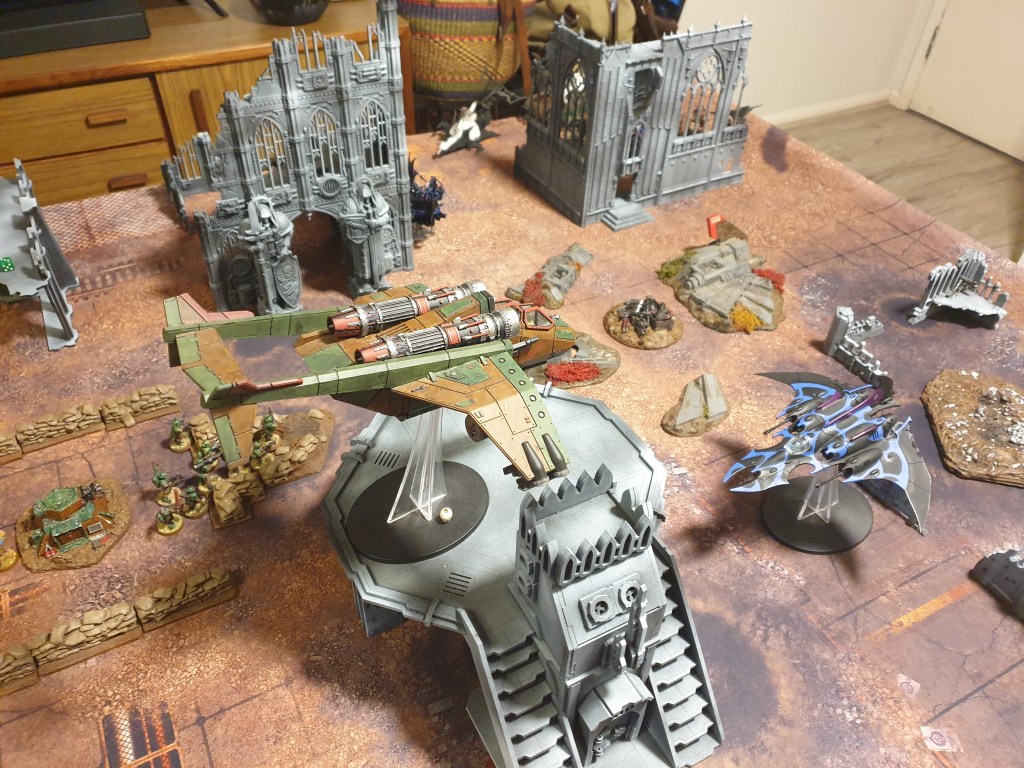
The Highlander force, led by Captain Grimm and rebel smuggler Brogar Hoff. Consisting of a fire support platoon backed by a heavy bolter squad, mercenary hive ganger veterans, armoured bullgryns, and 2 ministorium priests. Providing armoured support are the leman russ executioner Rogue and eradicator Duke, as well as a hydra flak tank and chimera transports. Finally providing air coverage is a veteran Valkyrie gunship, ready to dogfight pirate craft.

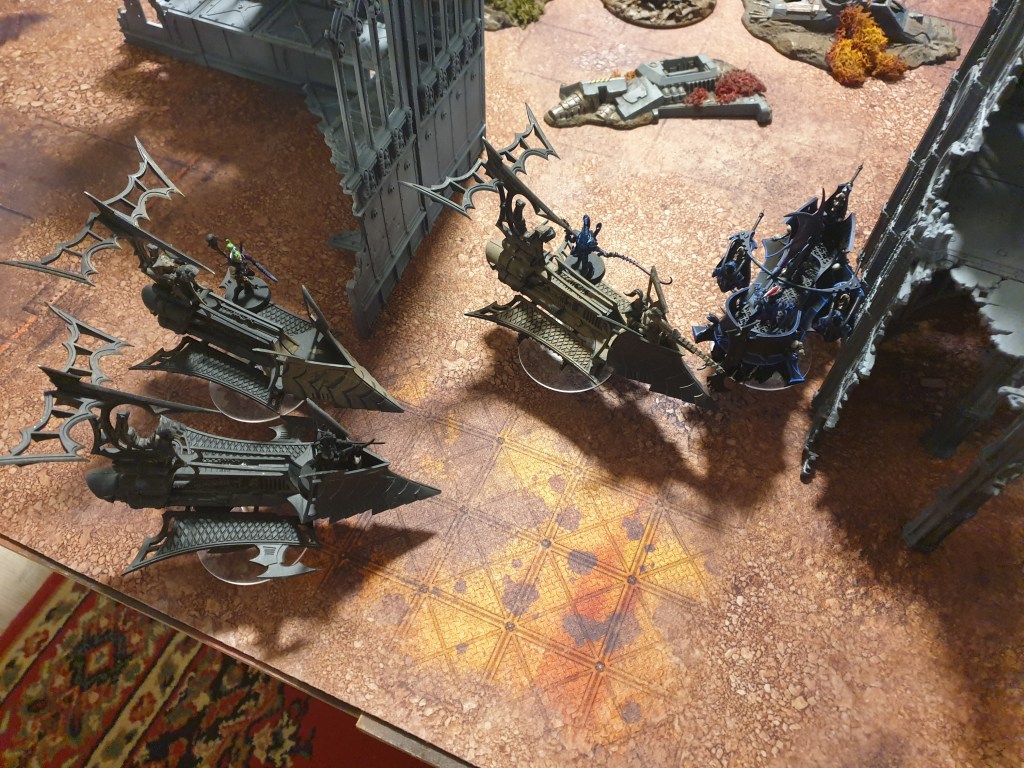
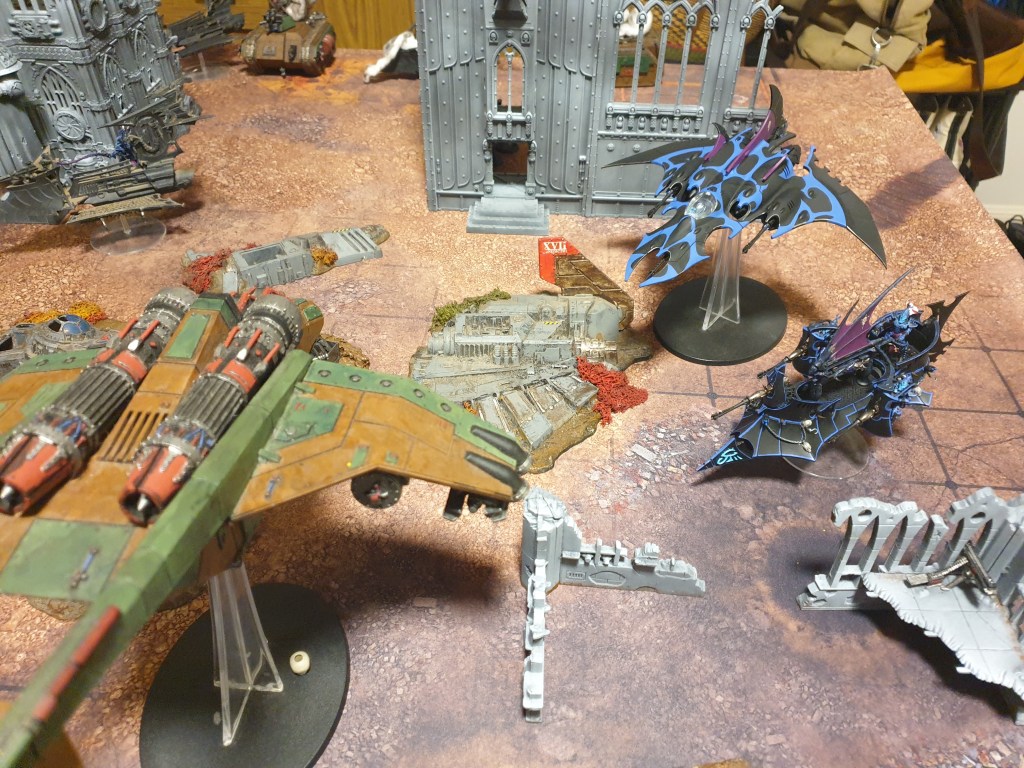
The raiding force of the Kabal of the Shattered Skull. Led an archon, wielding the djinn blade and a shadow field, with his trusted trueborn bodyguards. A raider bound warrior squad and wych squad bulk out the troops, as well as elite incubi assassins in a venom. Supporting the party is a reaver squad, a ravager and pretty effin badass lookin razorwing jetfighter.
Lt. Jackson’s command and an infantry squad deploy inside the administratum building.

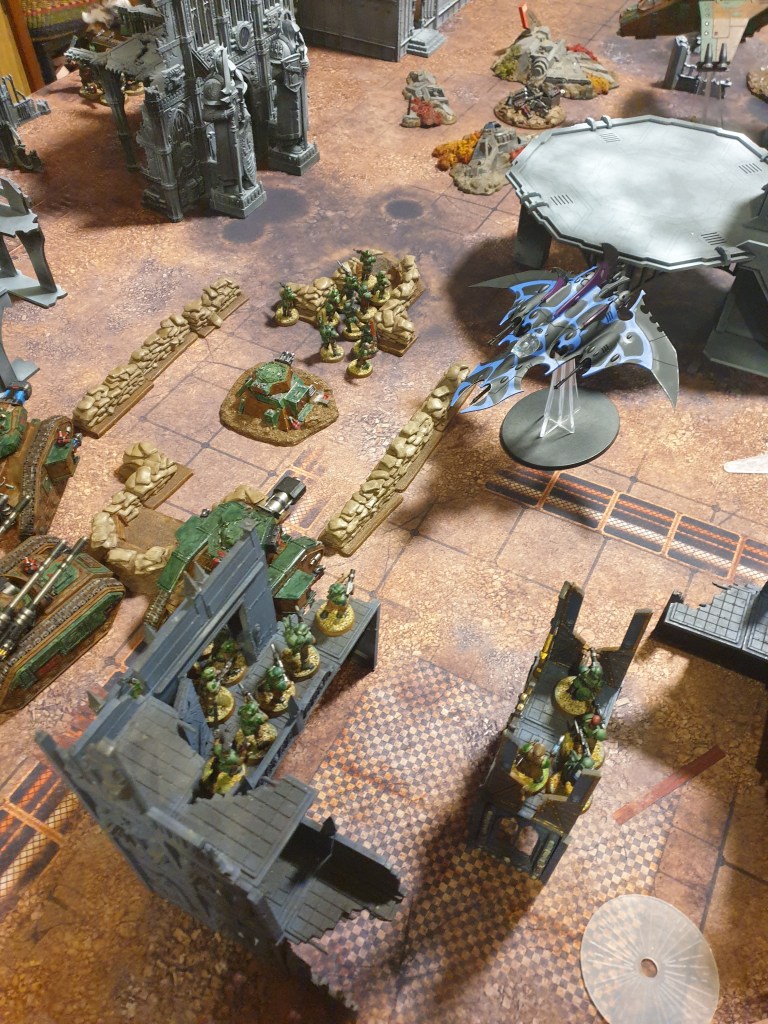
The centre of the firebase is held by the rebel armour, an infantry squad and Grimm’s command sheltering behind Rogue.

The heavy bolter teams form a firebase on top of the ruined sanctum.

The raiders and ravager deploy out of sight behind the aquila shrine, leaving the reavers and incubi in reserve.

With nothing to shoot at in first turn, the rebels hustle forward into the trenches and wait for the kabal to make the first move.
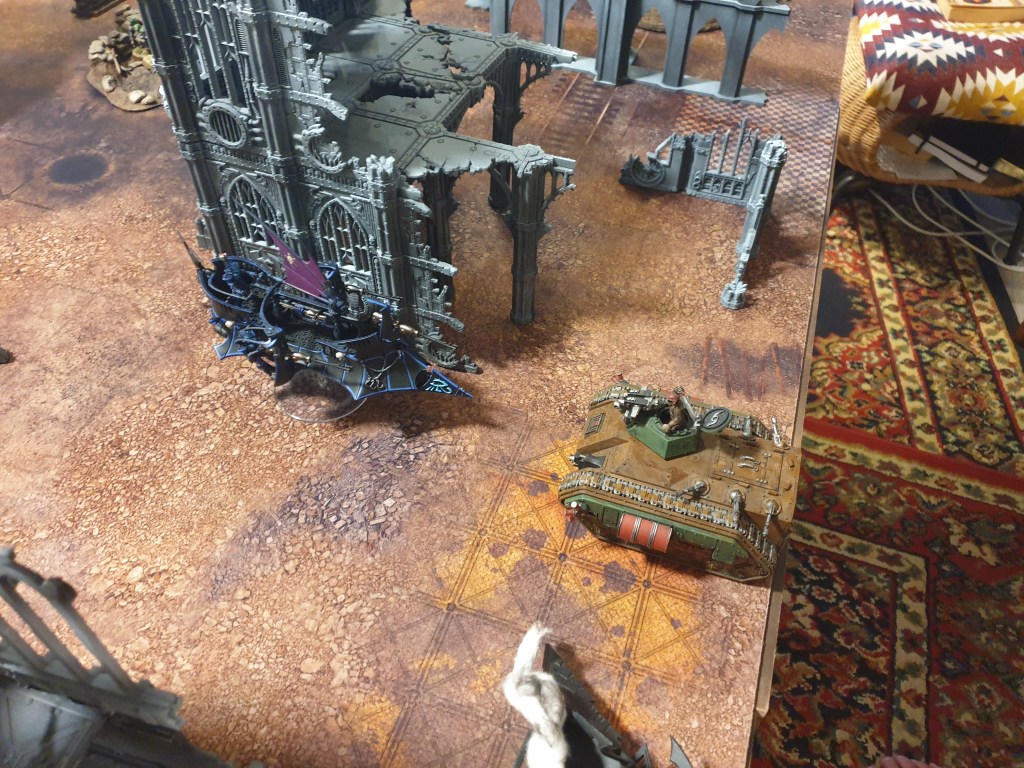
The kabal vehicles move forward, sticking to the cover of the basilicum.

A sneaky lance shot from a raider glances Rogue through the ruins.

In return, Grimm orders the heavy bolters to fire on the raider, mincing it in a hail of shells.
The rest of the rebels either hold for more targets, or surge forward to capture the sandbags.

The valkyrie flies forward above the landing pad, searching for targets.

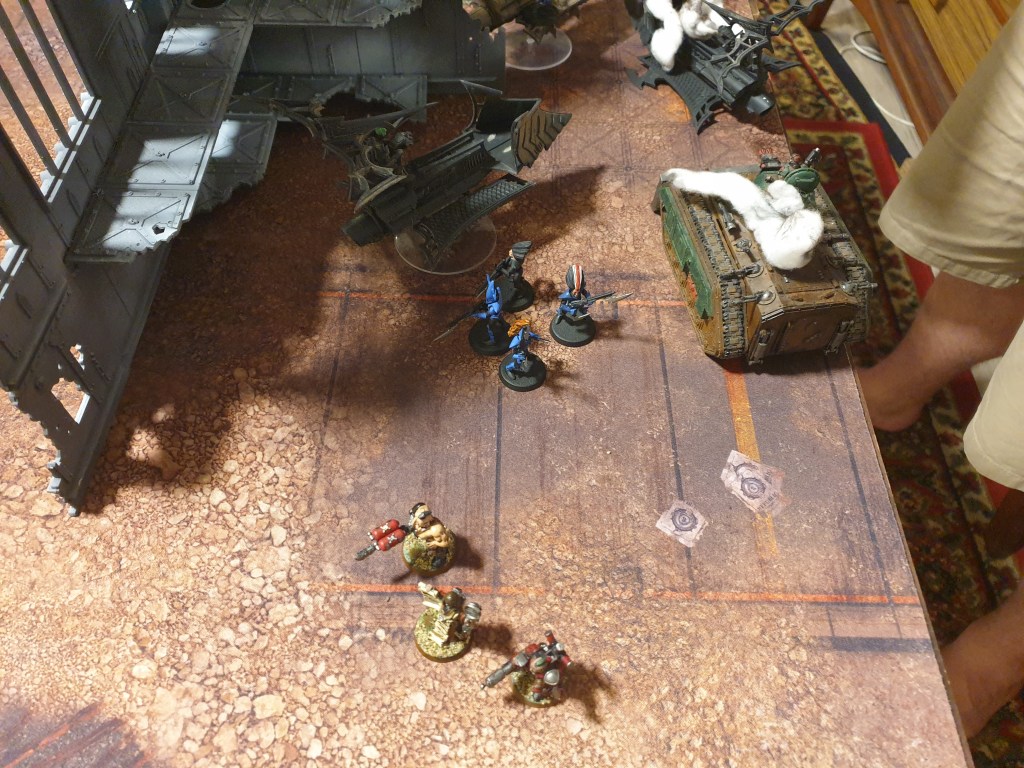
The chimeras, holding the hive gangers, bullgryns and priests, outflank into the midst of the raiding force.
The rebels pour fire into the warriors that spilled from the downed raider, causing them to flee.

The reavers make the field, while the remaining raiders round on the rebel transports. The warriors continue to flee.
The ravager lines up the bullgryns’ chimera.
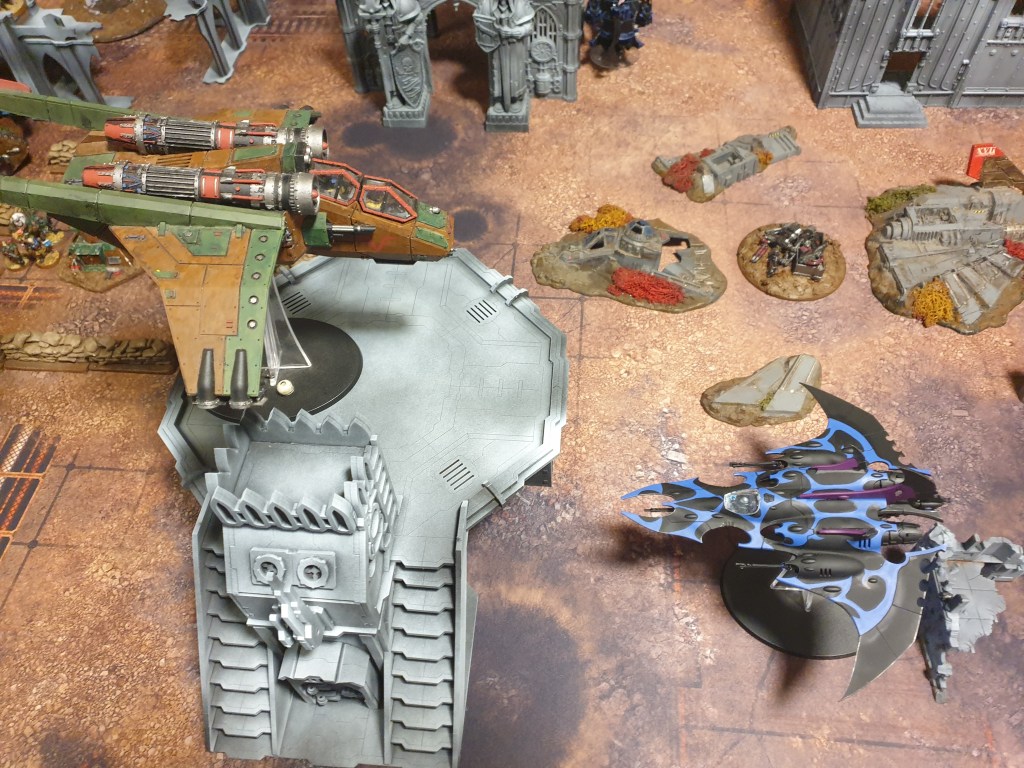
The razorwing makes the field, aiming straight for the valkyrie and landing a hull point on it with its dark lances.
The combined fire of the pirates busts the hive gangers’ transport and most of the squad.
The ravager lands a hit on the chimera and stuns it.
The jinking valkyrie drops into hover mode and strafes the razorwing, failing to land a hit.

The remaining hive gangers torch the reavers, and the rest fall back off the table.

The razorwing zooms over the valkyrie, lining up the Highlander command.
The warriors rally, and the wyches line up their next target.
The Archon’s bodyguard and ravager gang up on the stunned chimera.
The razorwing levels the Highlander command with a round of missiles.

The kabal wrecks the chimera, and the bullgryns are pinned in the open.

A hail of splinter fire and plasma grenades clears the hive gangers and priest.
The highlanders fire everything the can at the razorwing, but it deftly avoids any damage.

The valkyrie unloads into the razorwing but the kabal is just too slippery and it fails to make a mark.
The wyches charge the bullgryns after the trueborn soak them with splinter fire, leaving only the priest alive.
The kabal armour unloads into the valkyrie, but it jinks all their shots.
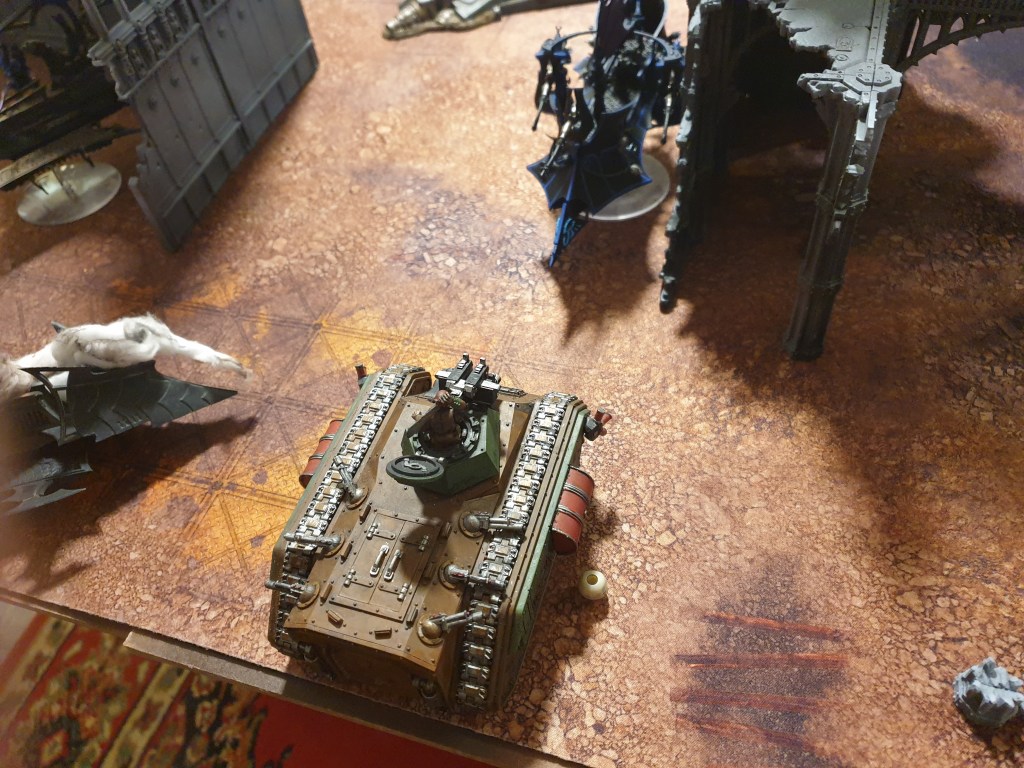
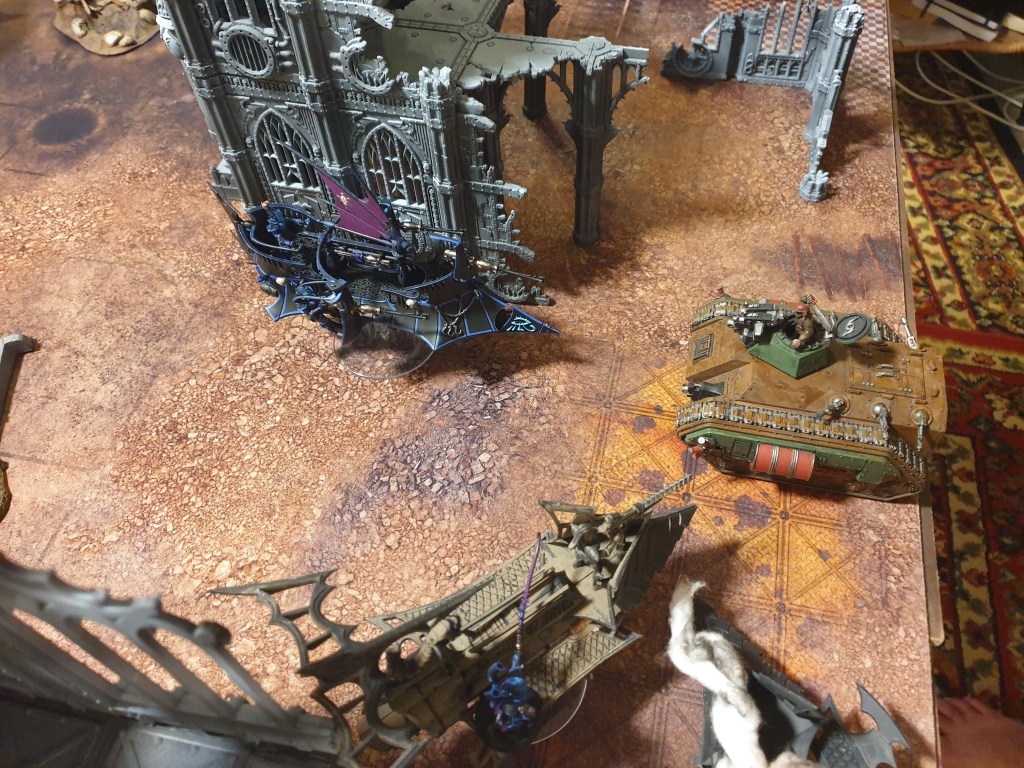
Rogue drives forward for better line of sight, but both its sponsons misfire and wreck the tank. The archon and trueborn deploy from their transport to charge the Highlander lines, but fail to make it into combat.
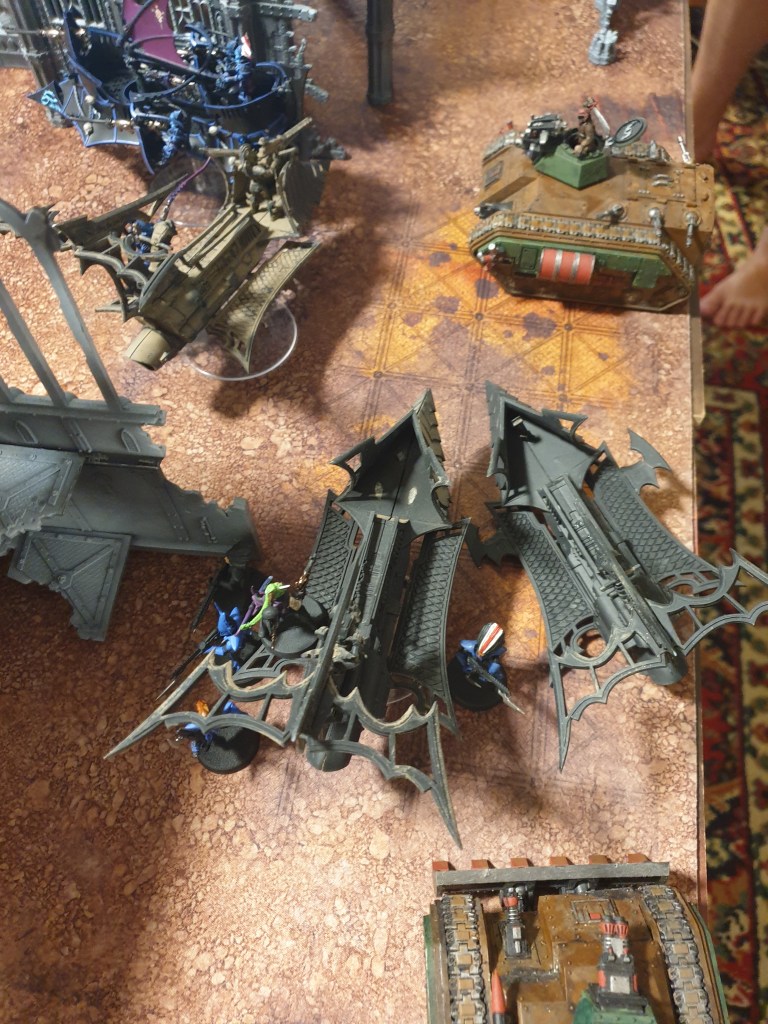
The razorwing and ravager line up the valkyrie and finally take it down, clearing the table quarter.

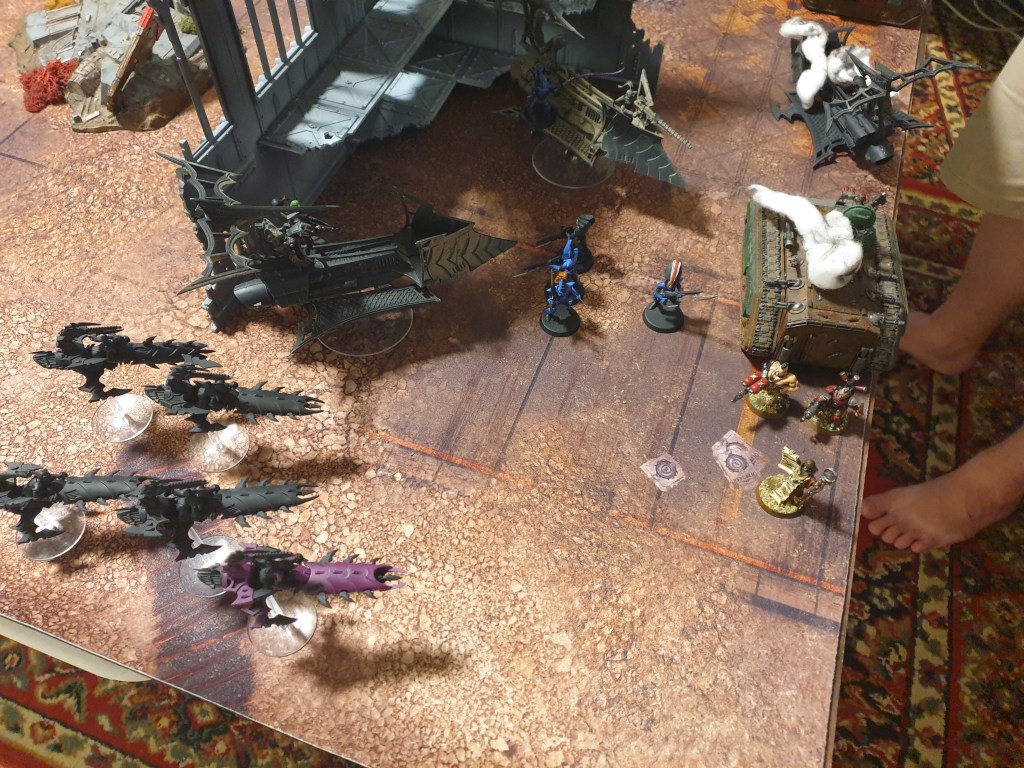
After finishing off the priest and clearing the table quarter, the wyches charge forward towards the rebel firebase.

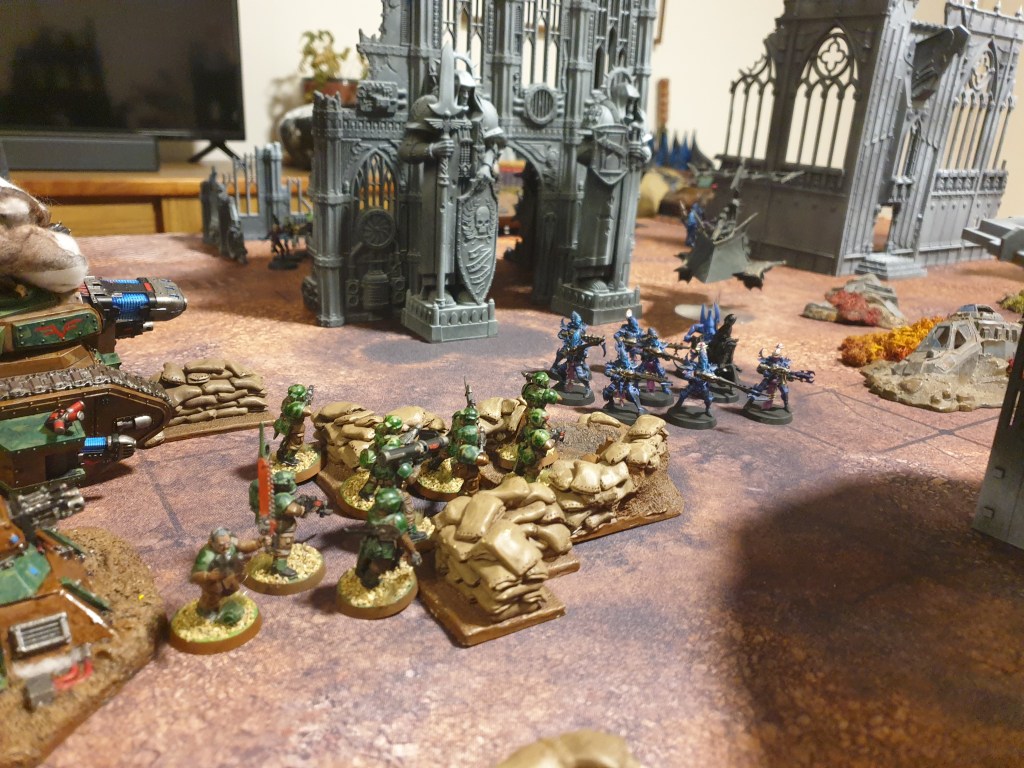
Left in the open, the archon and his trueborn are gunned down by massed rebel firepower. The incubi speed up into the rebel table quarters, and the wyches run through the ruins to do the same. The razorwing lines up more rebel infantry, leaving the Highlanders thin on the ground.
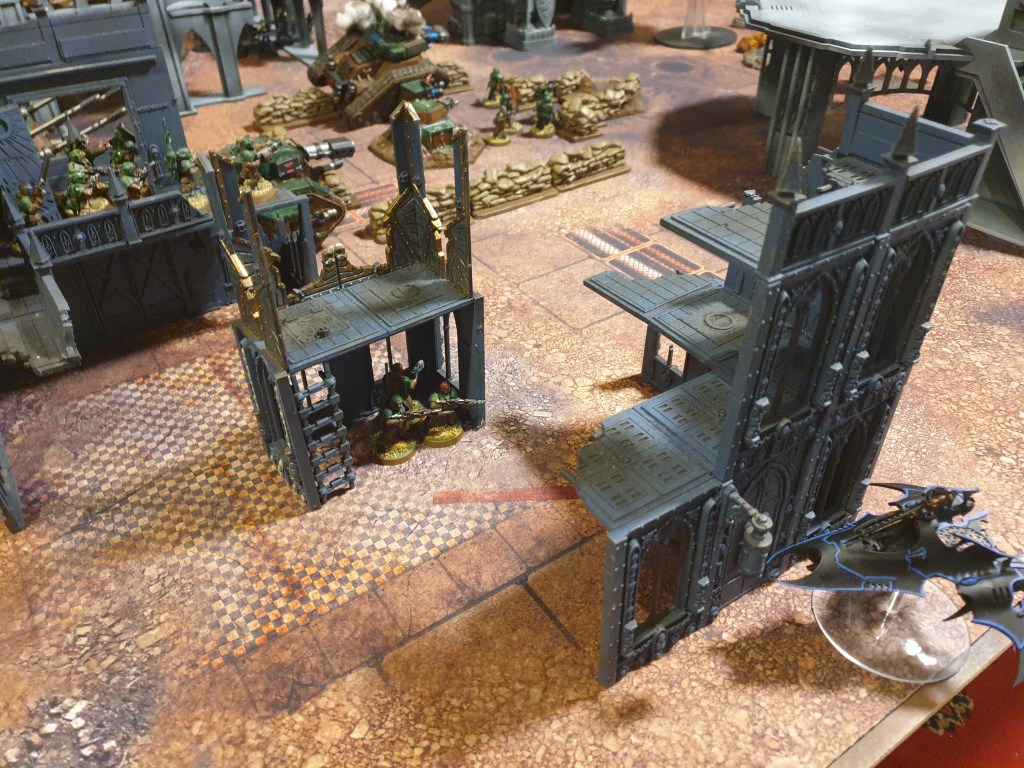
After a hail of fire from the venom, Lt. Jackson is left standing and with objective secured captures the table quarter for the rebels.

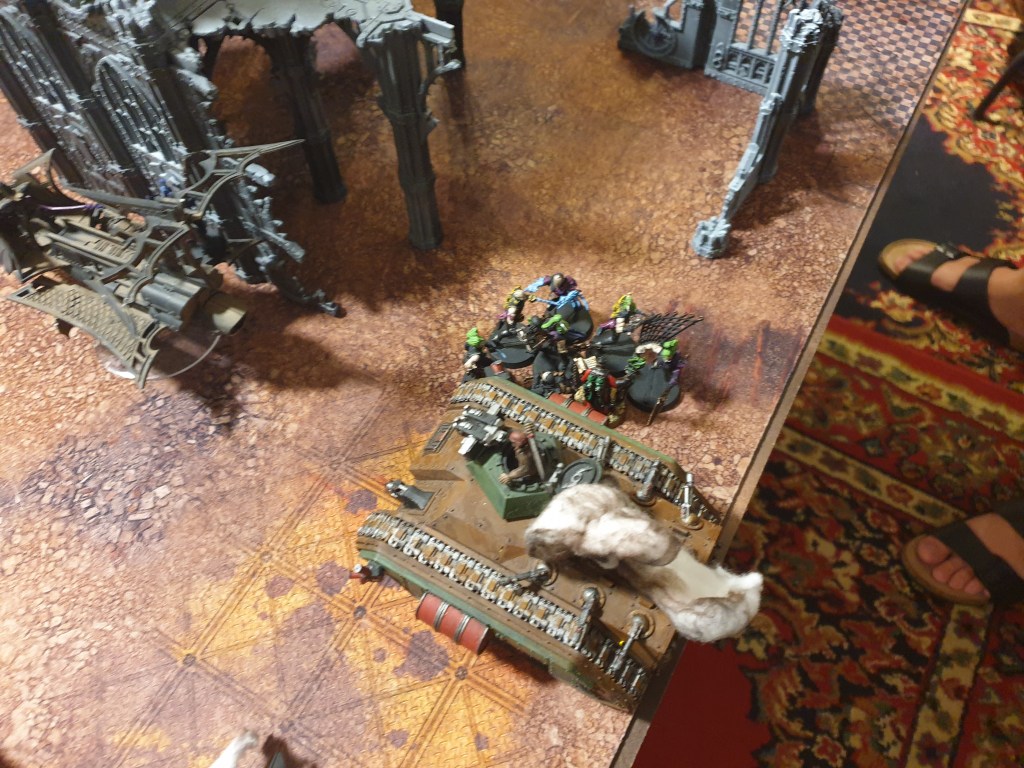
The wyches move forward into the sanctum, denying the Highlanders this table quarter.

The remains of the warriors hang back in the aquila shrine, capturing this table quarter for the kabal.

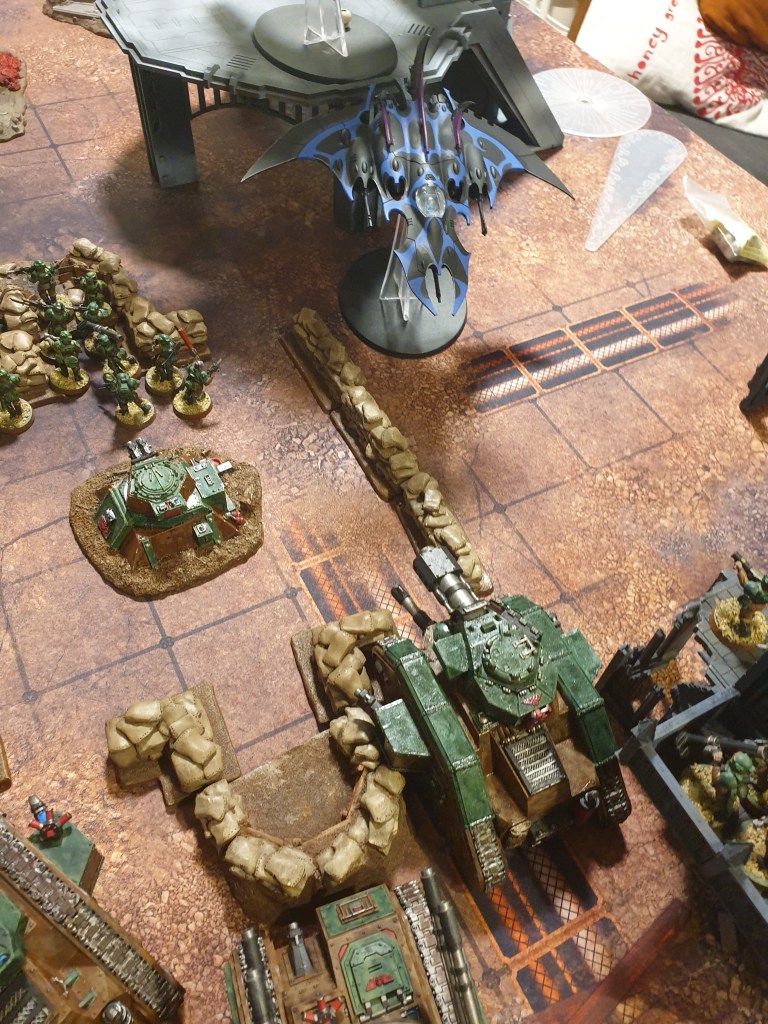
The ravager hangs back holding the kabals other table quarter.

The game ends on turn 6 after a lengthy bloodbath. The Kabal of the Shattered Skull holds two table quarters to the Highlanders one. Both sides get slay the warlord, the kabal gets linebreaker and firmly retains attrition, leaving the score 9 to 4 in favour of the pirates. A fast paced and brutal bloodbath. With no targets in my first turn, and a few turns of absolutely whiffing with my massed firepower, it was a frustrating game for the poor rebels, but I still managed to scrape some vps out of it. I guess I know what it’s like to be on the receiving end of a raiding party now. Well done to my opponent, it was his first time breaking out the kabal in a decade so he definitely did a good job. Next time I’m bringing the jinking shenanigans!
